Ditching SMTP Auth: Future-Proofing Your Email Notifications with Azure Communication Services
If you are using Office 365 mailboxes for applications to send notification and transactional emails, your most likely limited by the capabilities of your application. If your application only supports SMTP Auth, then you need to start planning a migration to Azure Communication Services.
Many applications rely on authenticated SMTP (SMTP Auth) as the only way to send emails. For example, you might have some applications from which you want to receive email alerts. What many still do, even though this is no longer recommended, is create a user in their domain/tenant and provide this user with an Exchange license (typically something like an Exchange Online Plan 1, 2, or Exchange Online Kiosk license). In any case, for the application to authenticate using this user, you would most likely need to configure it with basic auth (no MFA).
The fact that you are relying exclusively on passwords is a big red flag in and of itself. Microsoft does not allow it when using their Security Defaults (which are recommended when you do not have Microsoft Entra ID P1 licenses). New mailboxes are not allowed by default in Office 365 to use SMTP Auth. On top of that, Microsoft has announced that their SMTP endpoints for Office 365 will be taken offline by September 2025. It is time for you to take a look at what applications are making use of Exchange Mailbox with SMTP Auth and migrate them to the recommended methods.
If your application can use OAuth 2.0, then you are done. Well, not exactly, but almost! Look at the documentation for your application on how to register an application to Entra, get an access token, and how to use that token to authenticate connection requests. It should be the same process for every application, but the application has to support the protocol.
Most likely, your applications are still going to rely on plain SMTP for sending their emails. In that case, I will assume you need to send emails internally and externally and that you do not have an on-prem Exchange server. For these cases, we can use Azure Communication Services (ACS) Email.
What is ACS?
Azure Communication Services offers multichannel communication APIs for adding voice, video, chat, text messaging/SMS, email, and more to all your applications.
Source: https://learn.microsoft.com/en-us/azure/communication-services/overview
These services enable you to integrate communication channels into your applications and, at least in the case of email, also get some powerful analytics.
In this case, we do not wish to develop applications and integrate with the communication services. We simply wish to deploy our own ACS SMTP resource and authenticate against that. Still, you might end up enjoying the other goodies that come with it like email analytics and engagement tracking.
Preparation
Prerequisites
To keep this guide as simple as possible, I will assume you already have the following or are capable of setting them up yourself:
- An Azure subscription
- Access to your domain’s DNS settings for verification
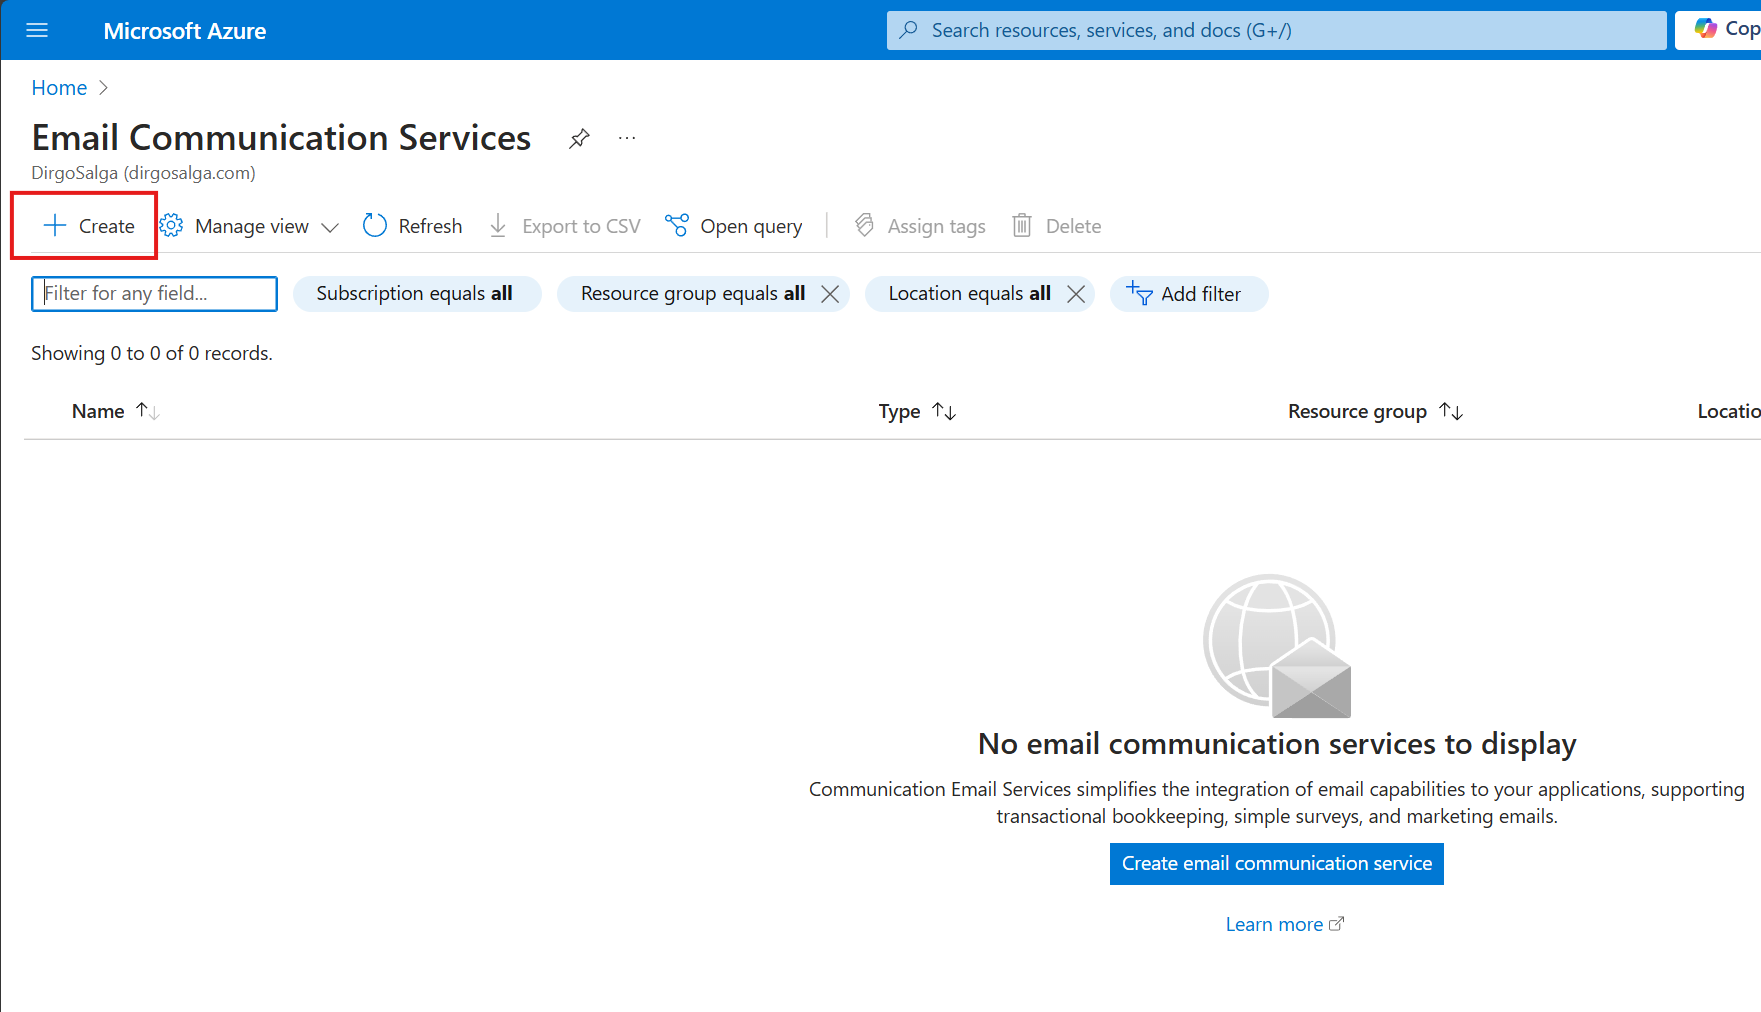
Create an Email Communications Service resource
- Login to the Azure Portal.
- Search for the Email Communication Services (ECS) resource.

- Create a new instance of that resource.
- Create a new resource group and define its location. For the ECS resource, you just need to define a name and where the data should be stored.

- Wait for the resource to validate the deployment and then click on Create.

Create an Azure Communication Services resource
- Search for the Communication Services resource.
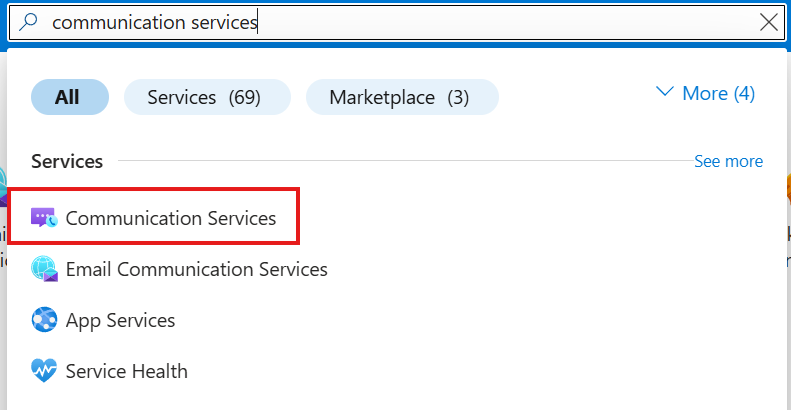
- Click on Create.

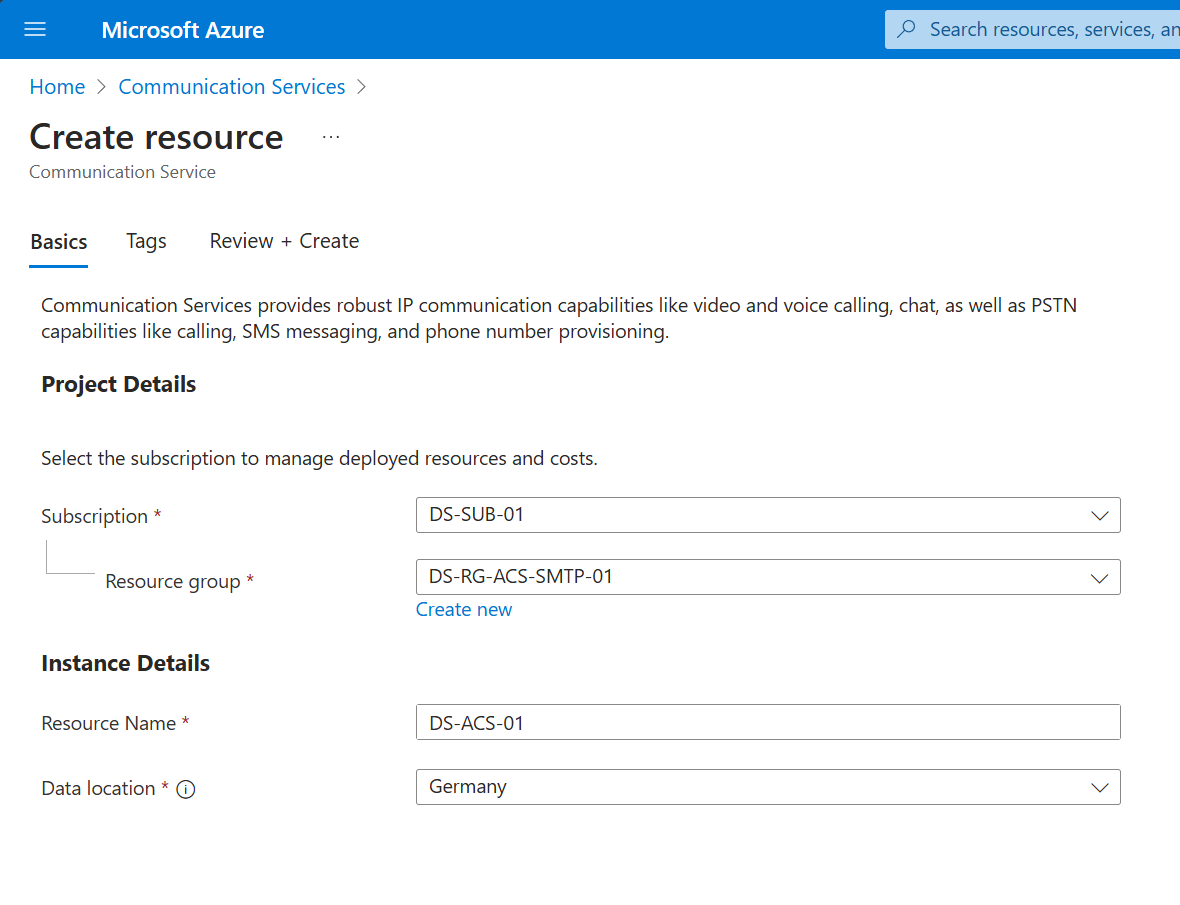
- Select the same subscription and resource group as before. Give the instance a name and choose a location for the data storage.
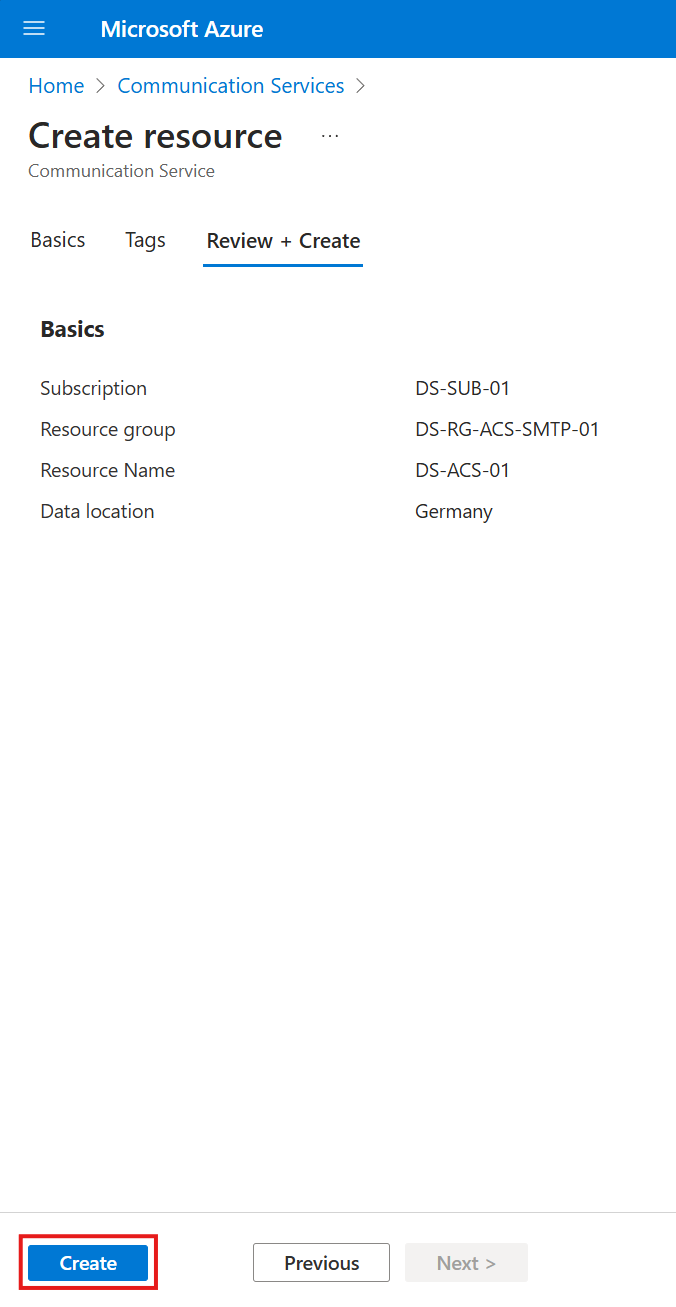
- Navigate to Review + Create. Wait for the validation to finish and click on Create.
Adding a custom domain to your Email Communication Service
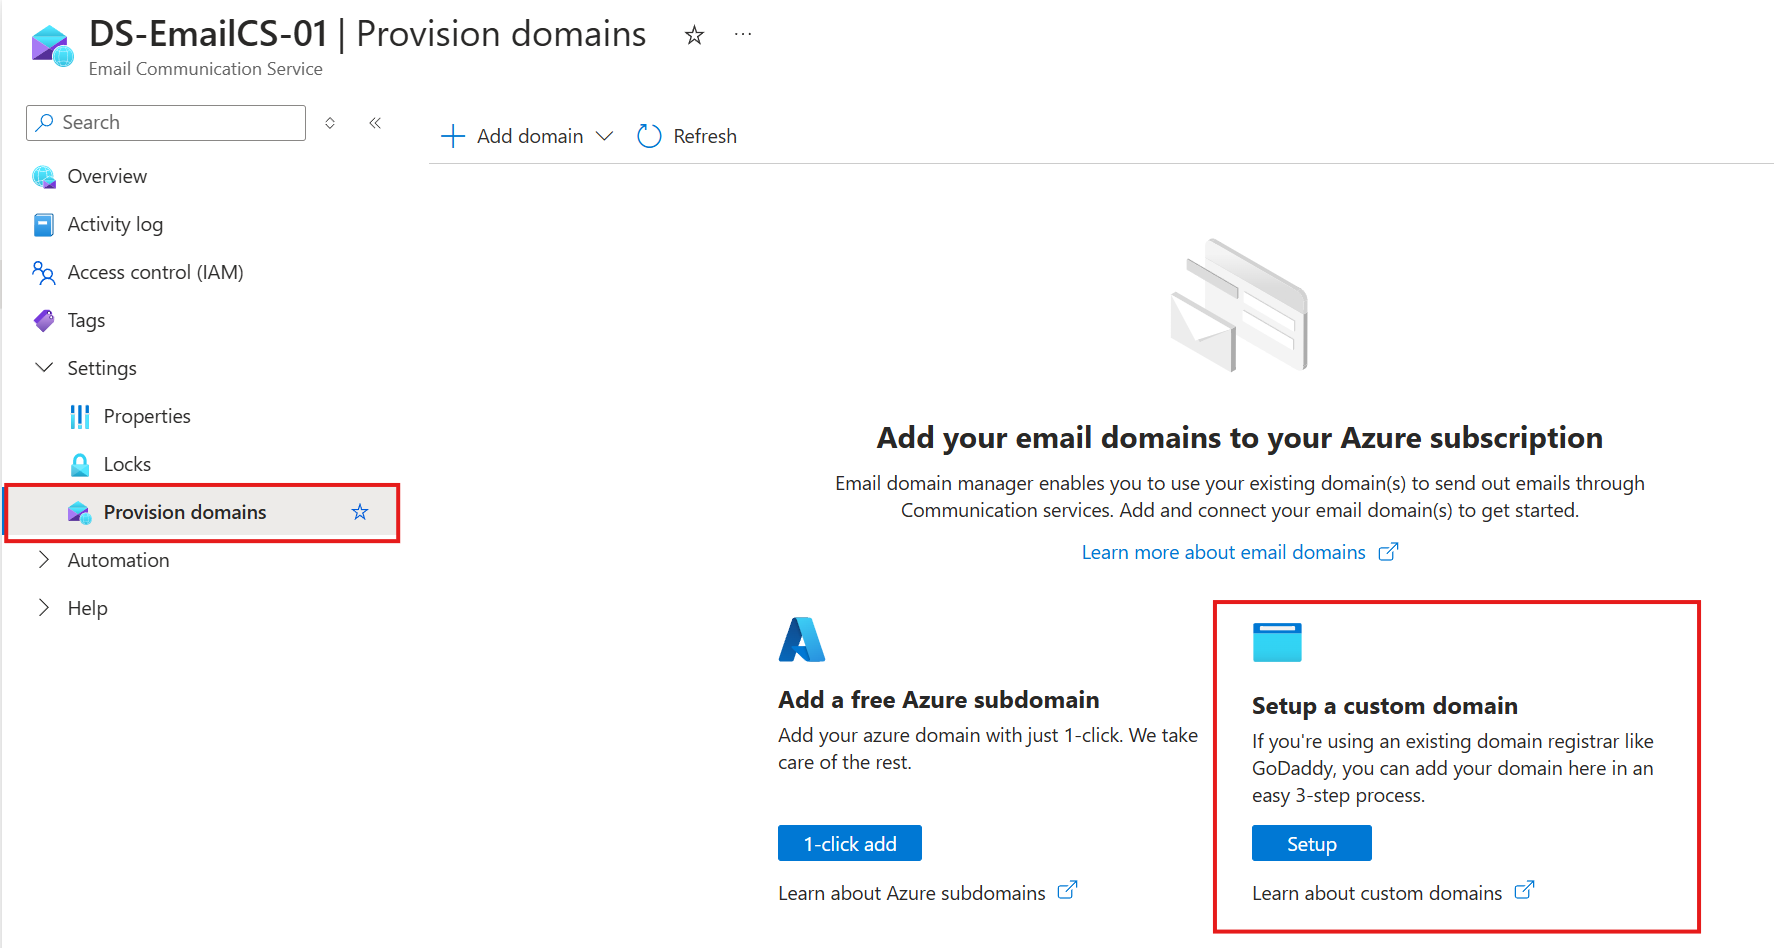
- Navigate to your ECS resource.
- Under Settings, find the Provision domains menu.
- Click on the right option to setup a custom domain.
- Add the custom subdomain you want to add and click on Confirm.
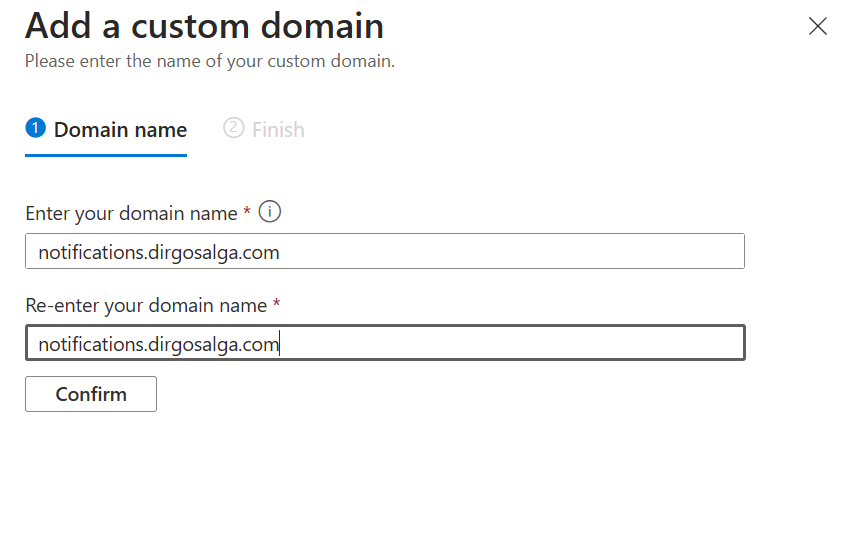
- Click on Add and then on Close.
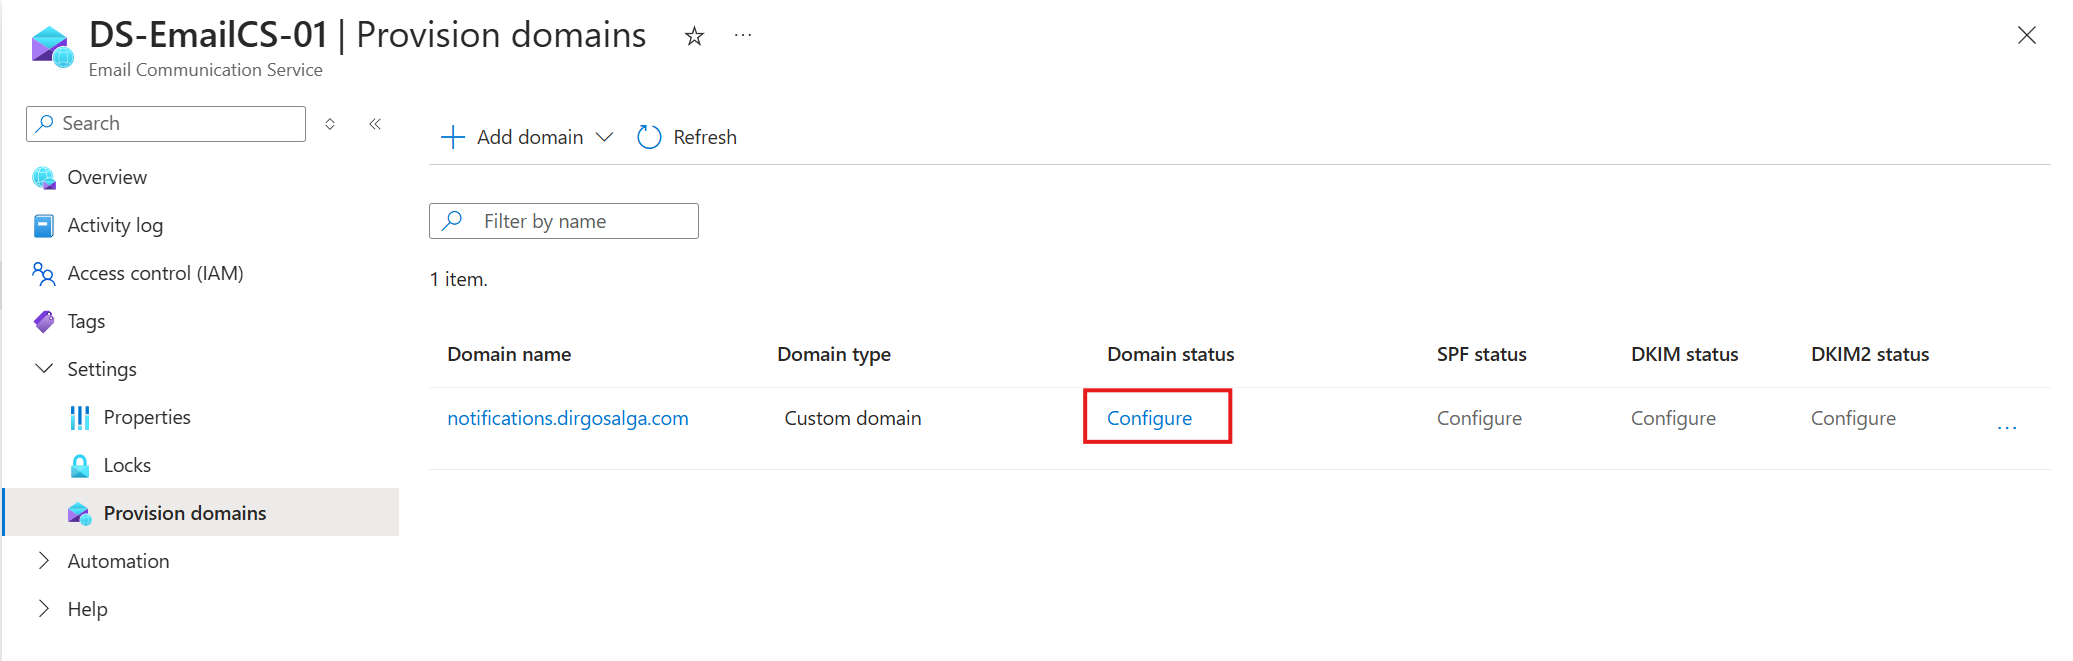
- Wait for your deployment to finish.
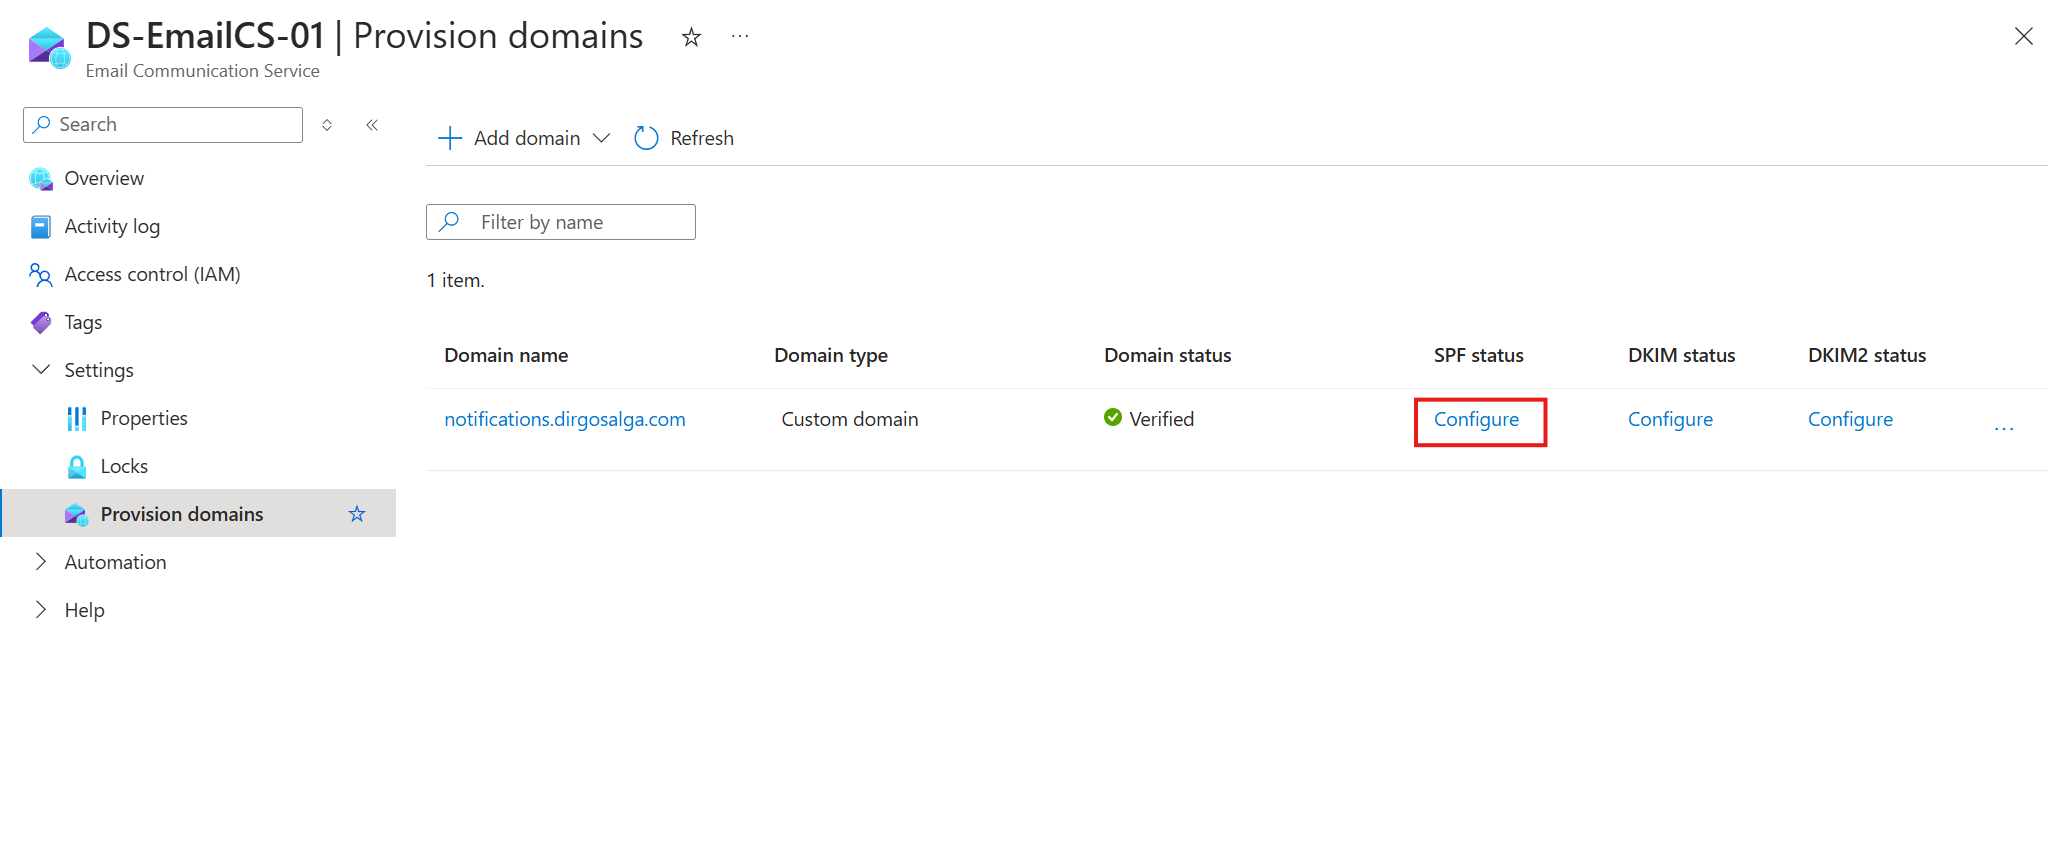
- Configure the domain to get it verified.
- Make a note of the TXT value shown. You will have to add a DNS record of TXT type to verify the ownership of the domain.
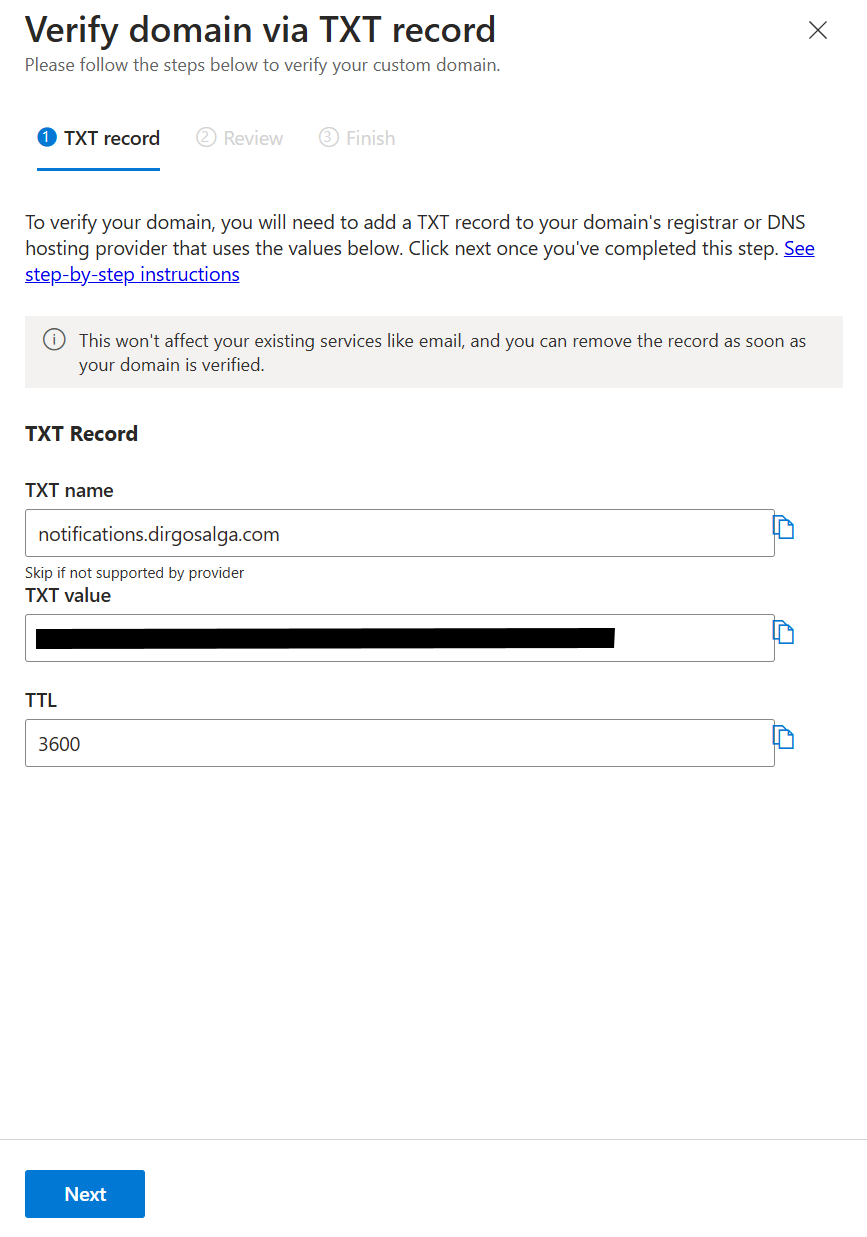
- After adding the DNS record, click on Next and let Azure verify. After a few minutes (Azure says it can take up to 20 minutes), you will get a green checkmark.
- Next, configure SPF and DKIM by clicking on the word Configure under the SPF status column.
- You will again get a list of values you will need to store as TXT records and as CNAME records. Review this guide if you need more details on how to read or add those records: https://learn.microsoft.com/en-us/azure/communication-services/quickstarts/email/add-custom-verified-domains?pivots=platform-azp#configure-sender-authentication-for-custom-domain.
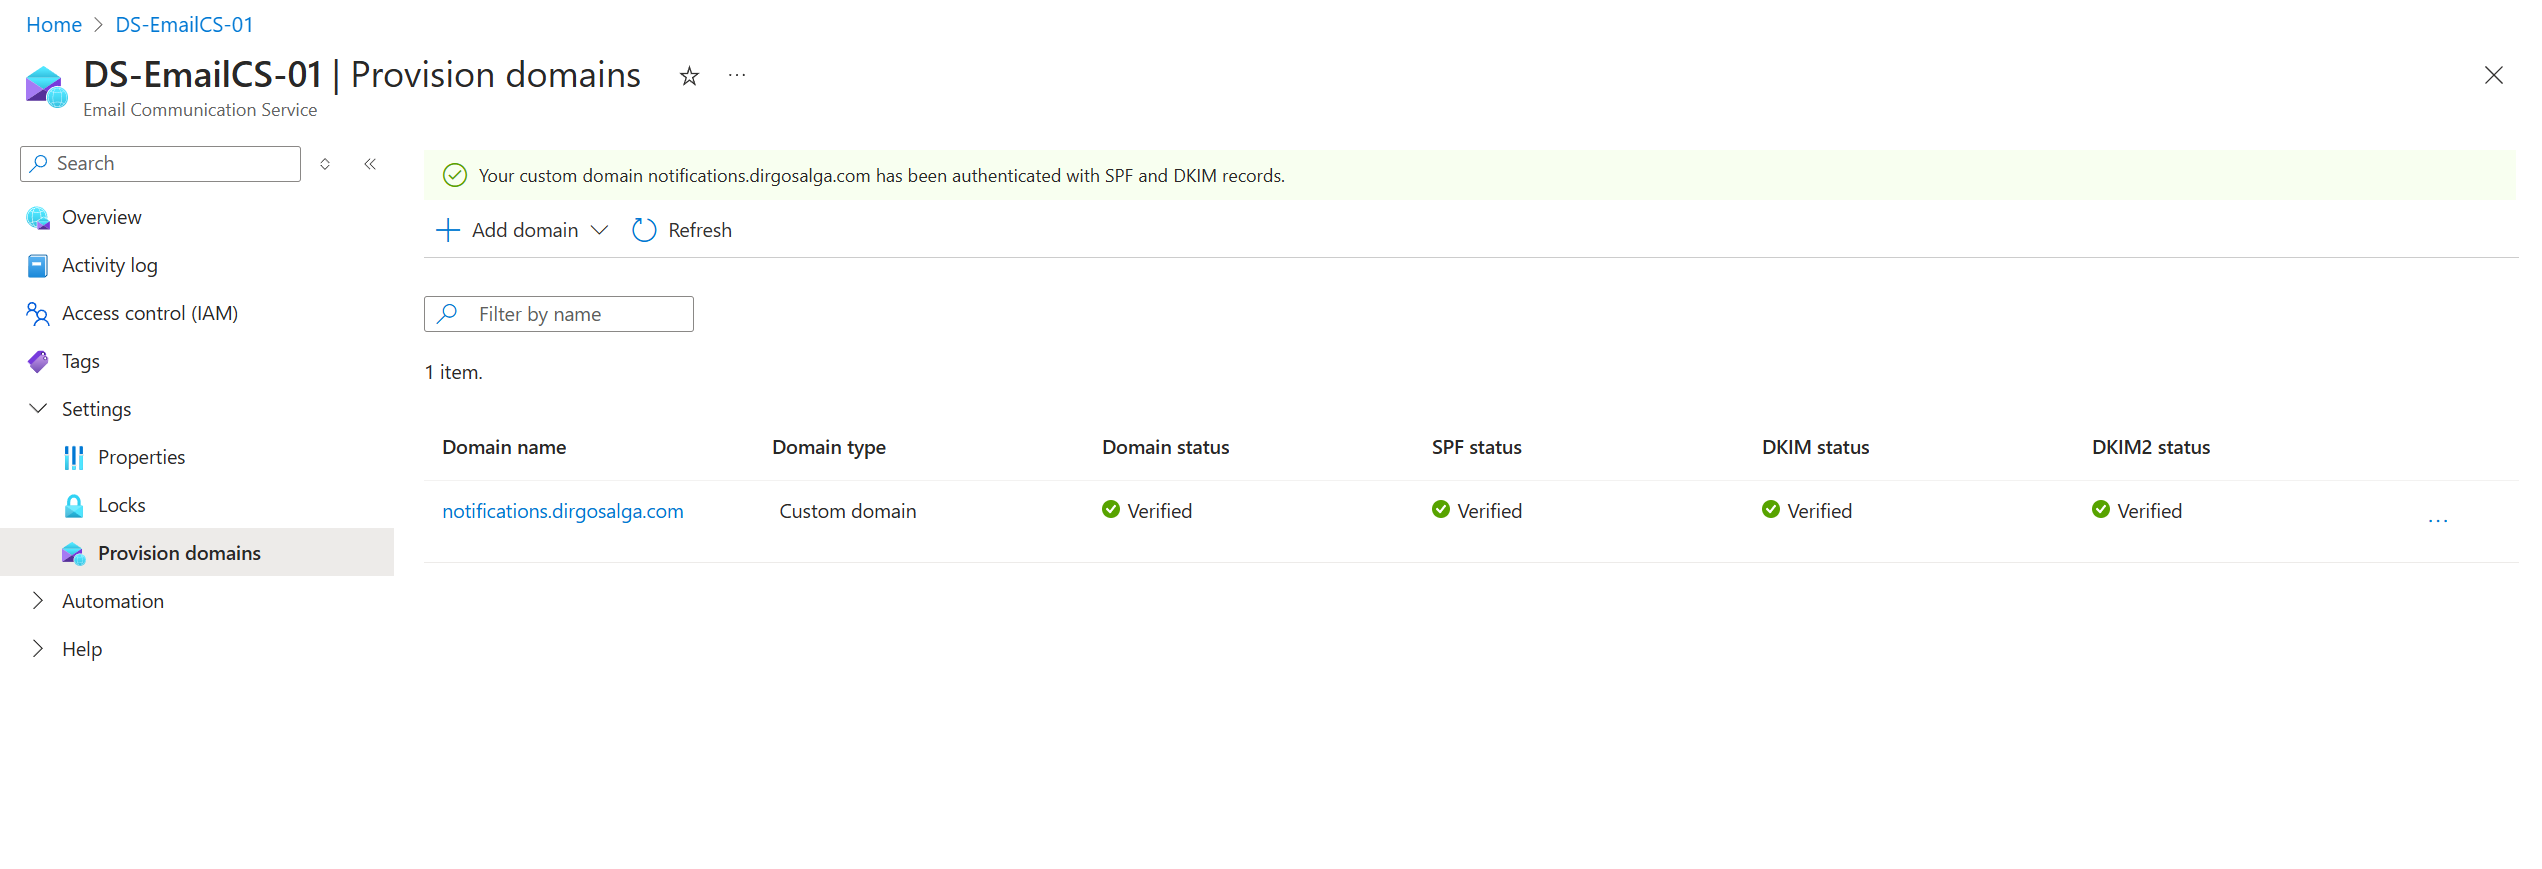
- Wait a few minutes for the DNS settings to propagate and Azure to verify them. If the DNS records match what Azure is expecting, then you will get green checkmarks in all columns.
Connect a verified email domain
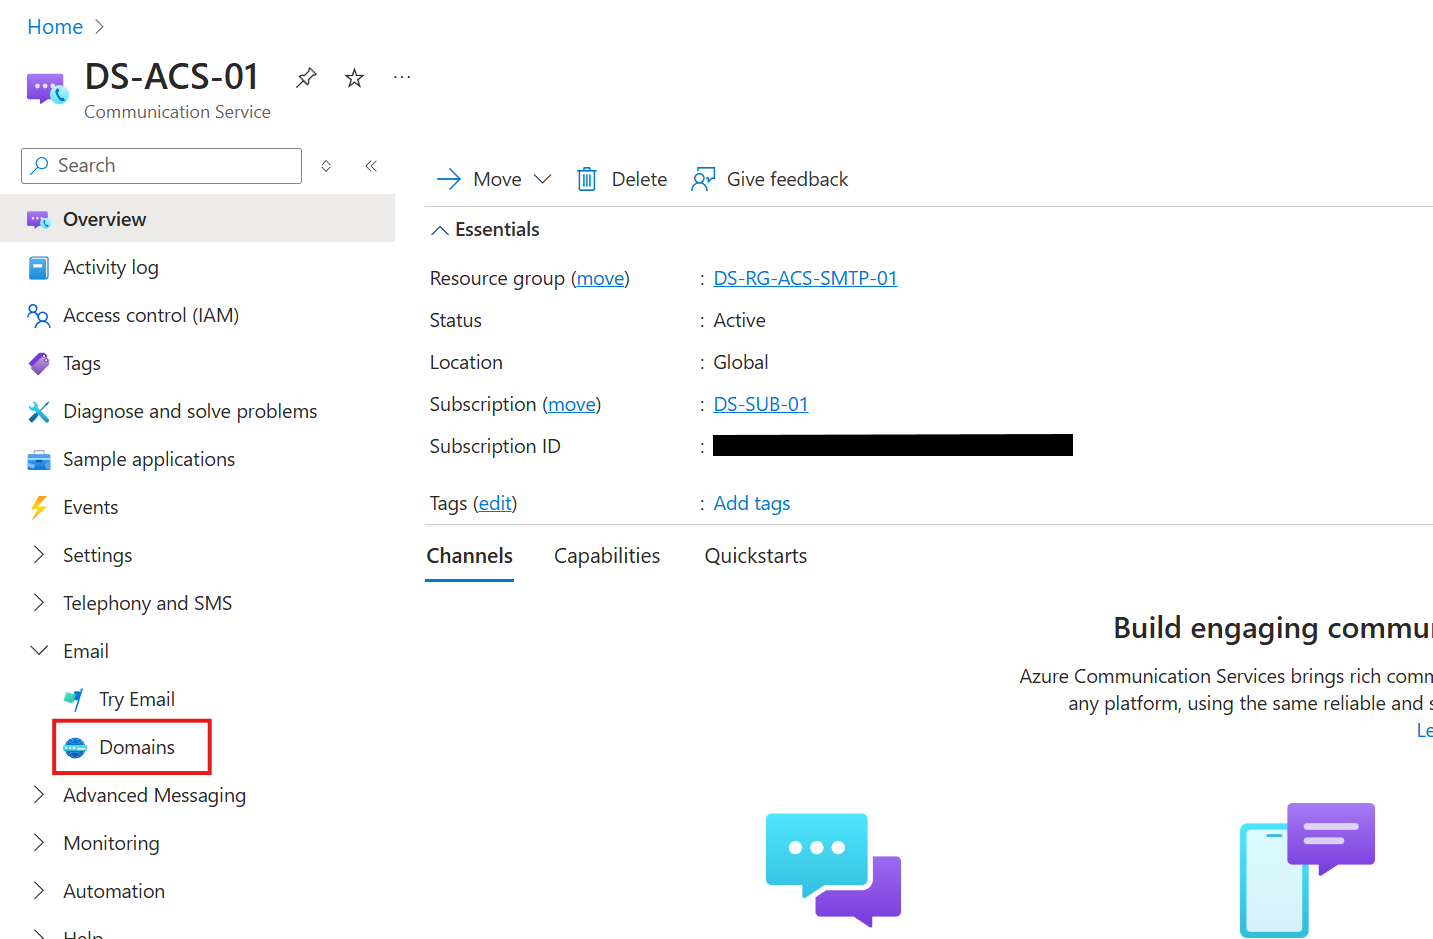
- Navigate to the Communication Service resource you just deployed.
- Look for the Domain options under the Email section of the navigation pane.
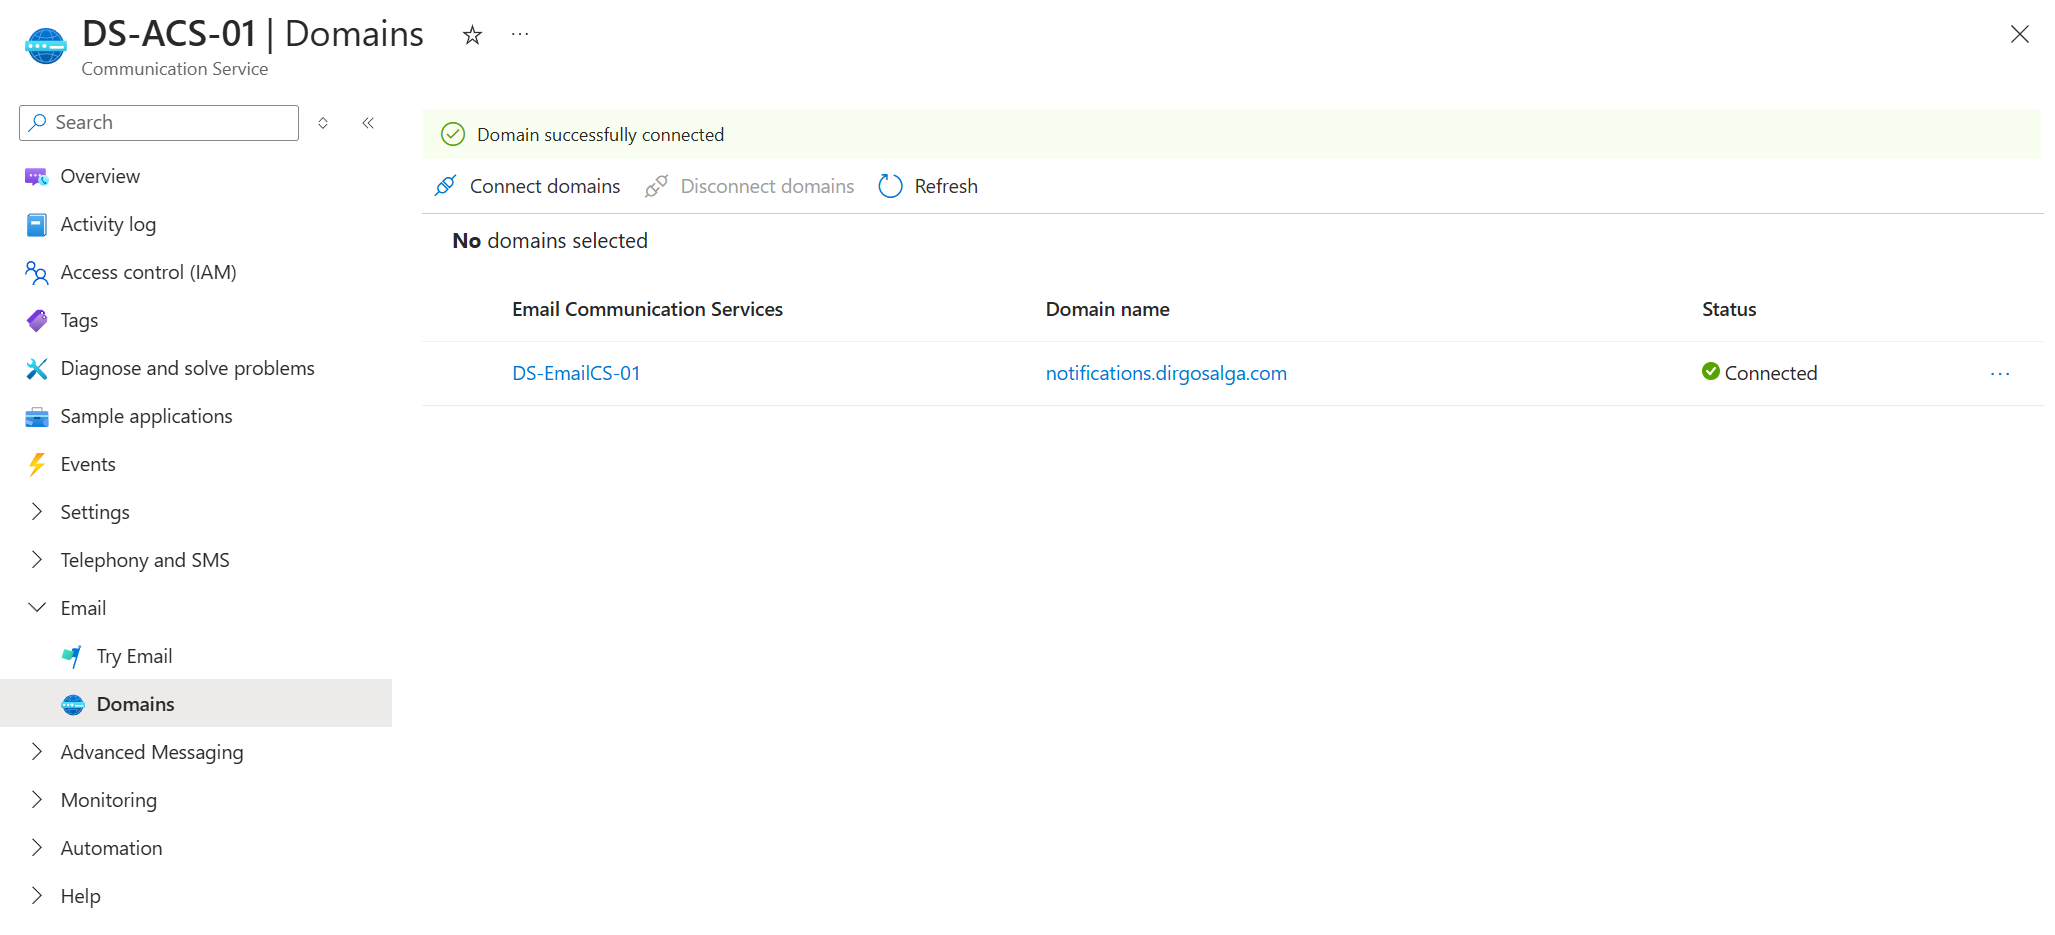
- Click on Connect domains.

- From the drop-down menus, select the corresponding options and click on Connect.

- You should now see your domain with the status Connected.
Registering a new application with Entra ID
- Go to the Entra administration portal.
- Navigate to Identity → Applications → App registrations and click on New registration.

- Give the application a name, for example, SMTP Notifications. Under “Who can use this application?”, select Single tenant.
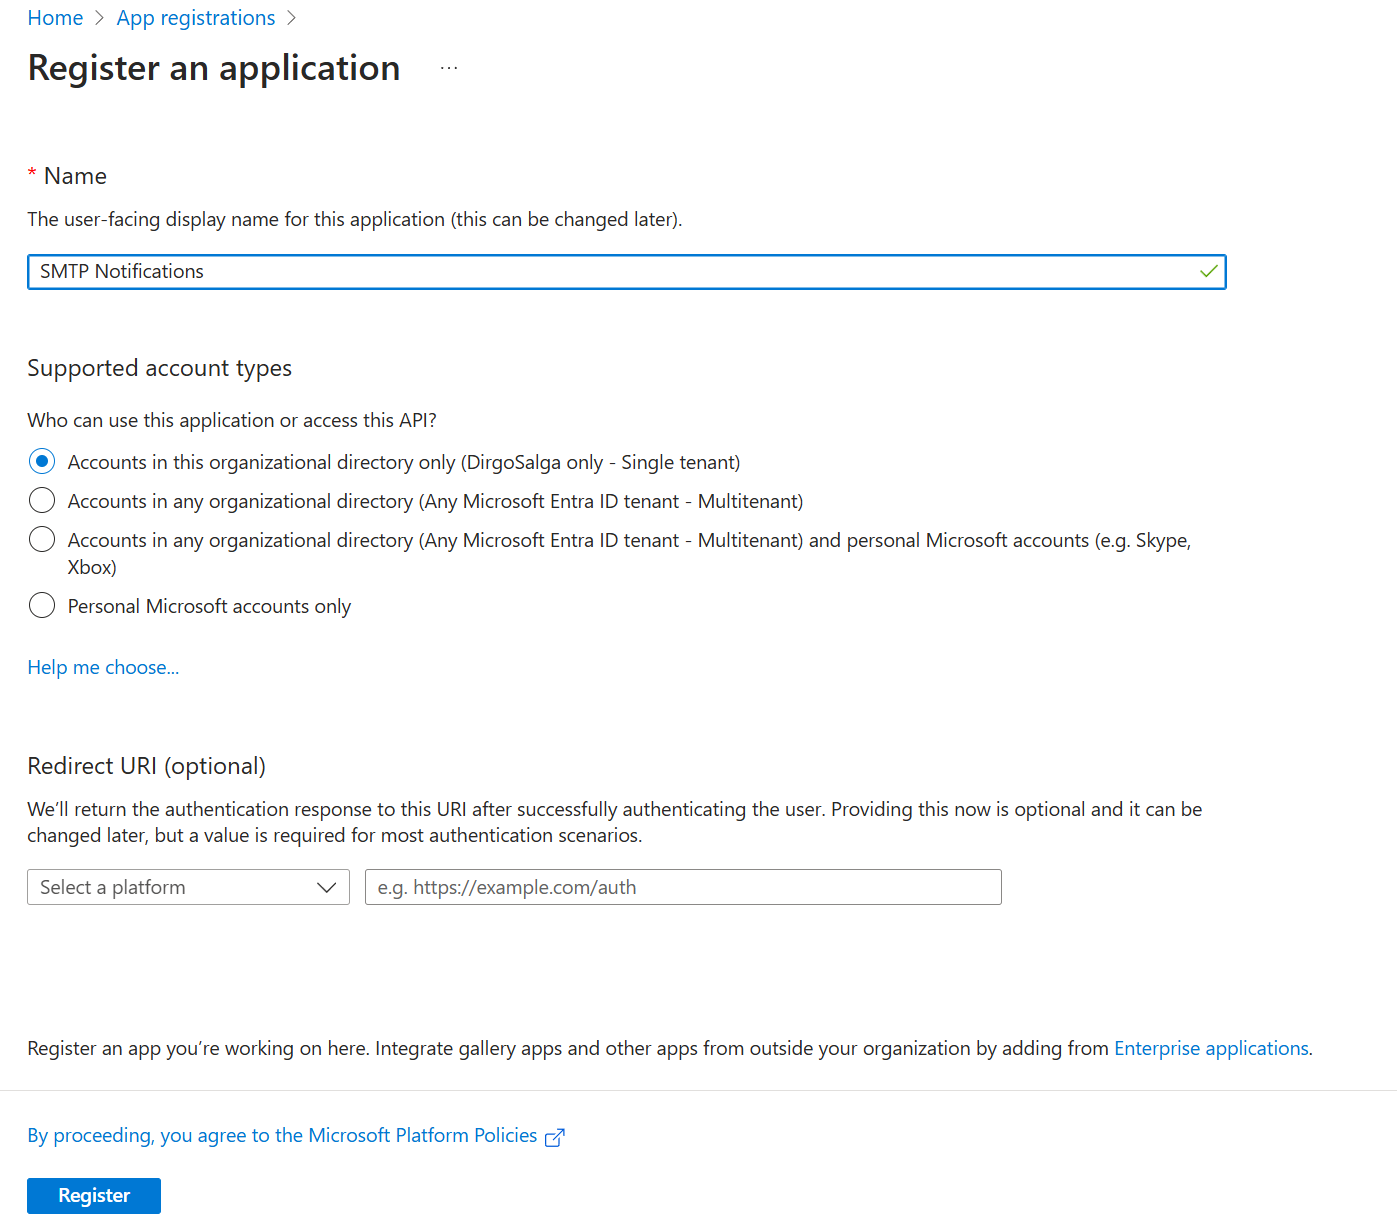
- Click on Register.
Using SMTP with an Entra application and Azure Communication Services
After all that preparation, we are finally ready to do the final two steps before testing our new method for sending emails using SMTP:
- Give our newly created Entra application the permissions to send emails using the Azure Communication Services resource.
- Generate the client secrets, which will be needed to compose the username and password that we need to provide when setting the SMTP integration of our apps.
Granting the app permissions to send emails through Azure Communication Services
For these next steps, you have two possibilities. The first one would be to go to the ACS resource and give the application (or rather the corresponding service principal) the role of Contributor. If you are fine with that, then you can skip the following set of instructions and continue to the next section. I will define a custom role with only the necessary permissions for the application.
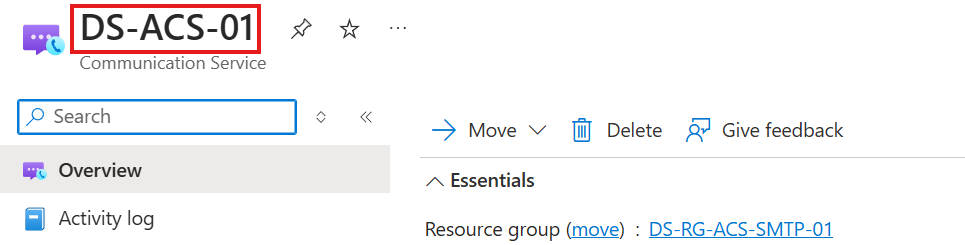
- Navigate to the Communication Service resource (for me it is DS-ACS-01).
- Open the Access control menu.
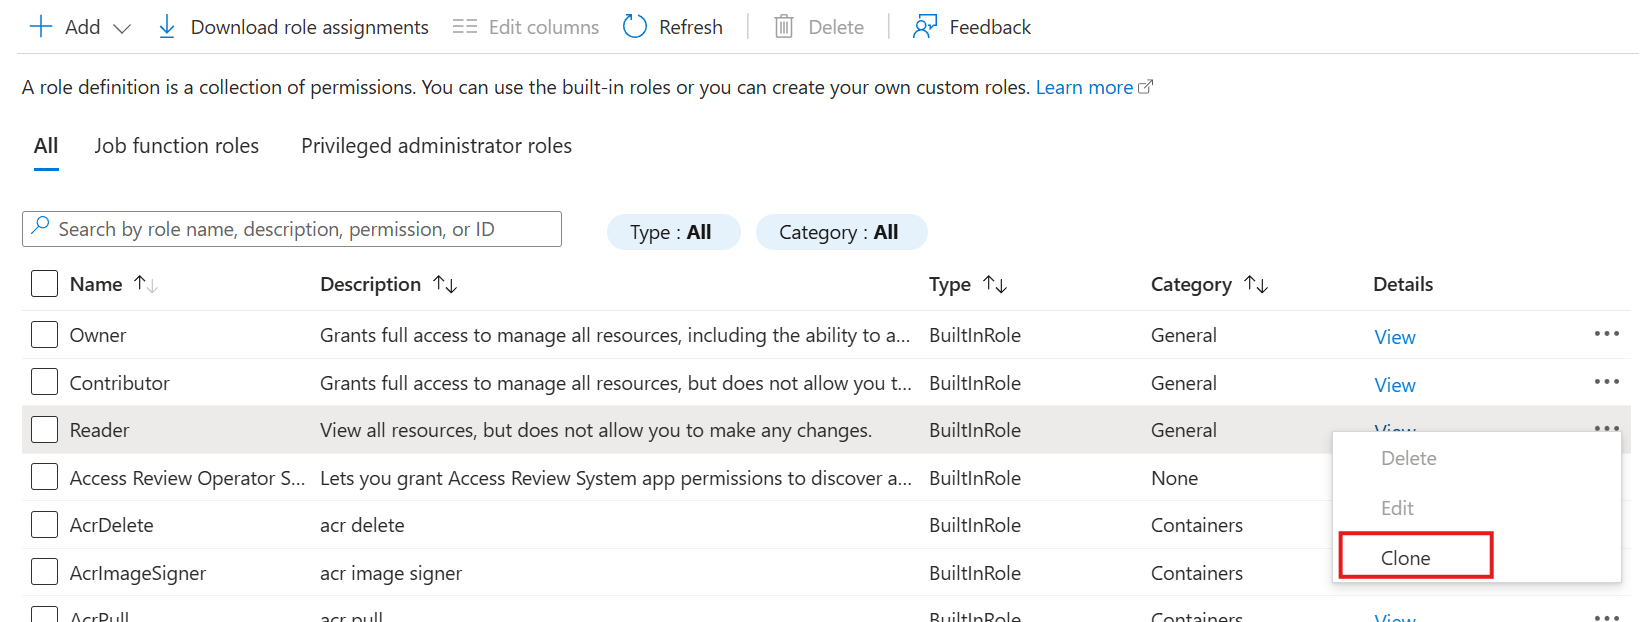
- Open the Roles tab.

- Make a clone of the Reader role.
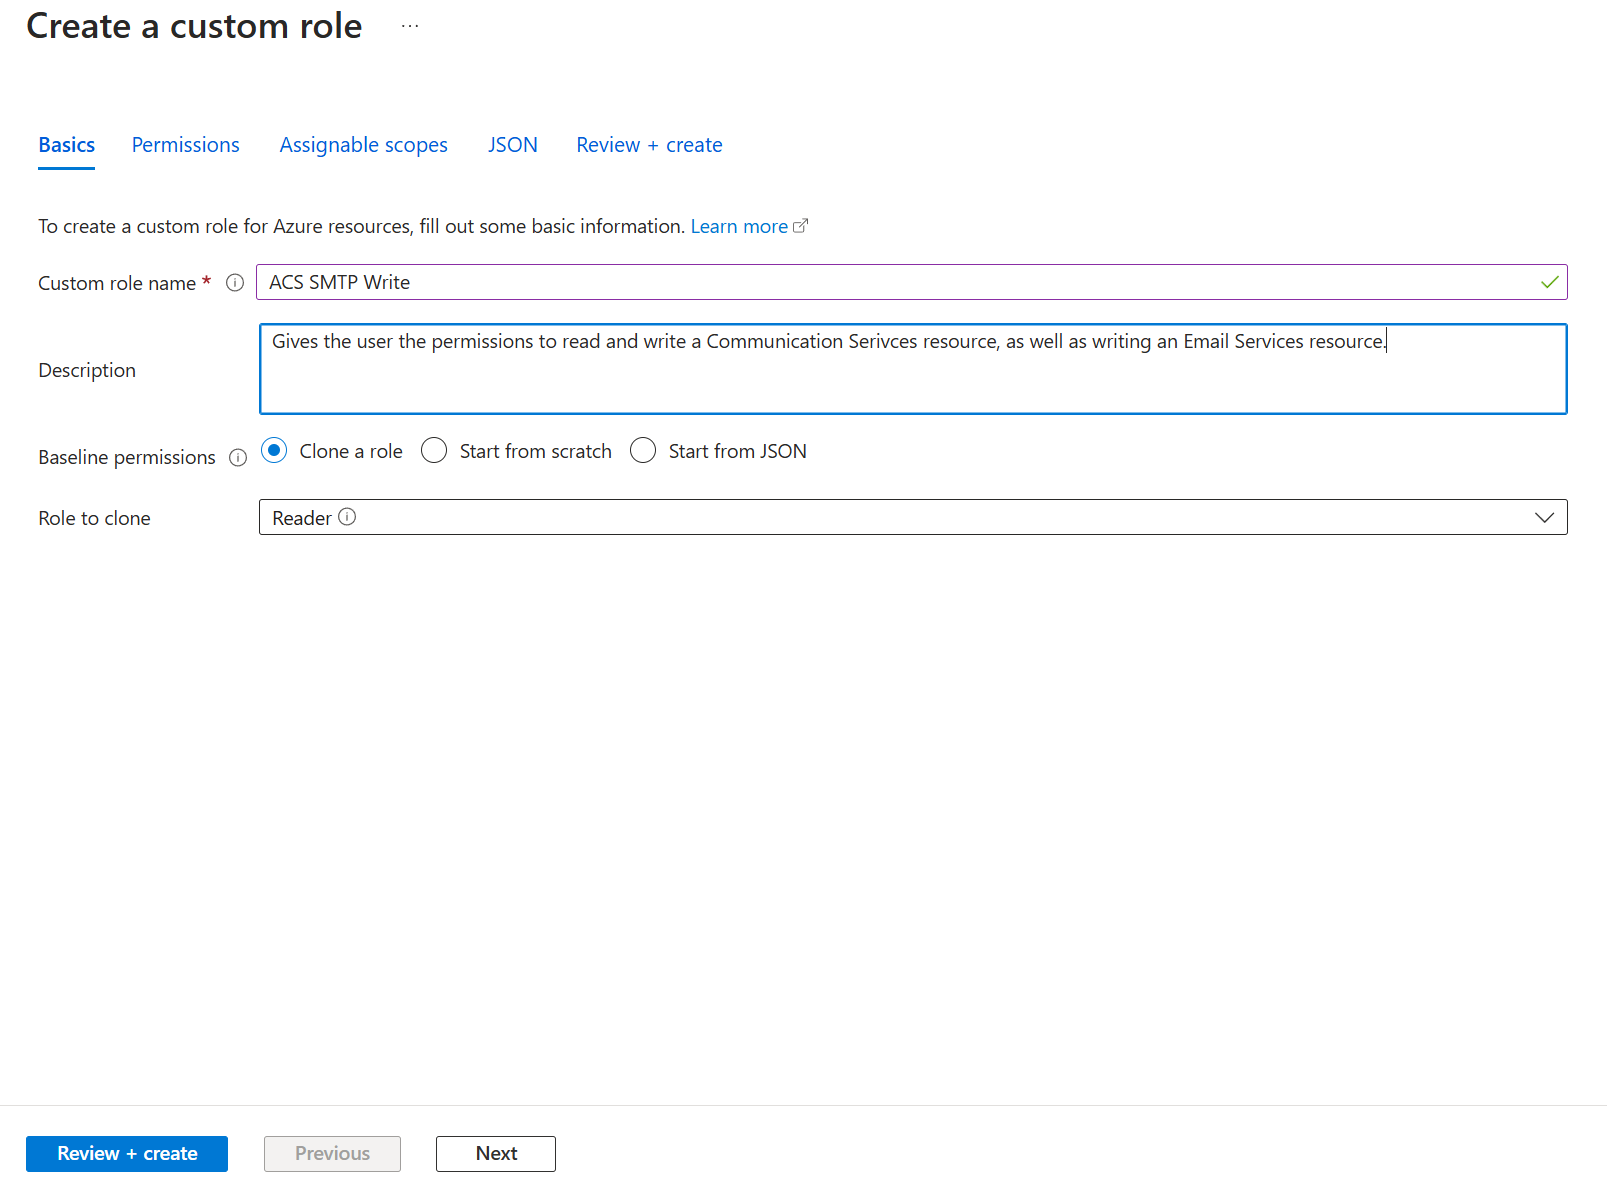
- Give the role a name and a description (optional). Click on the Permissions tab.
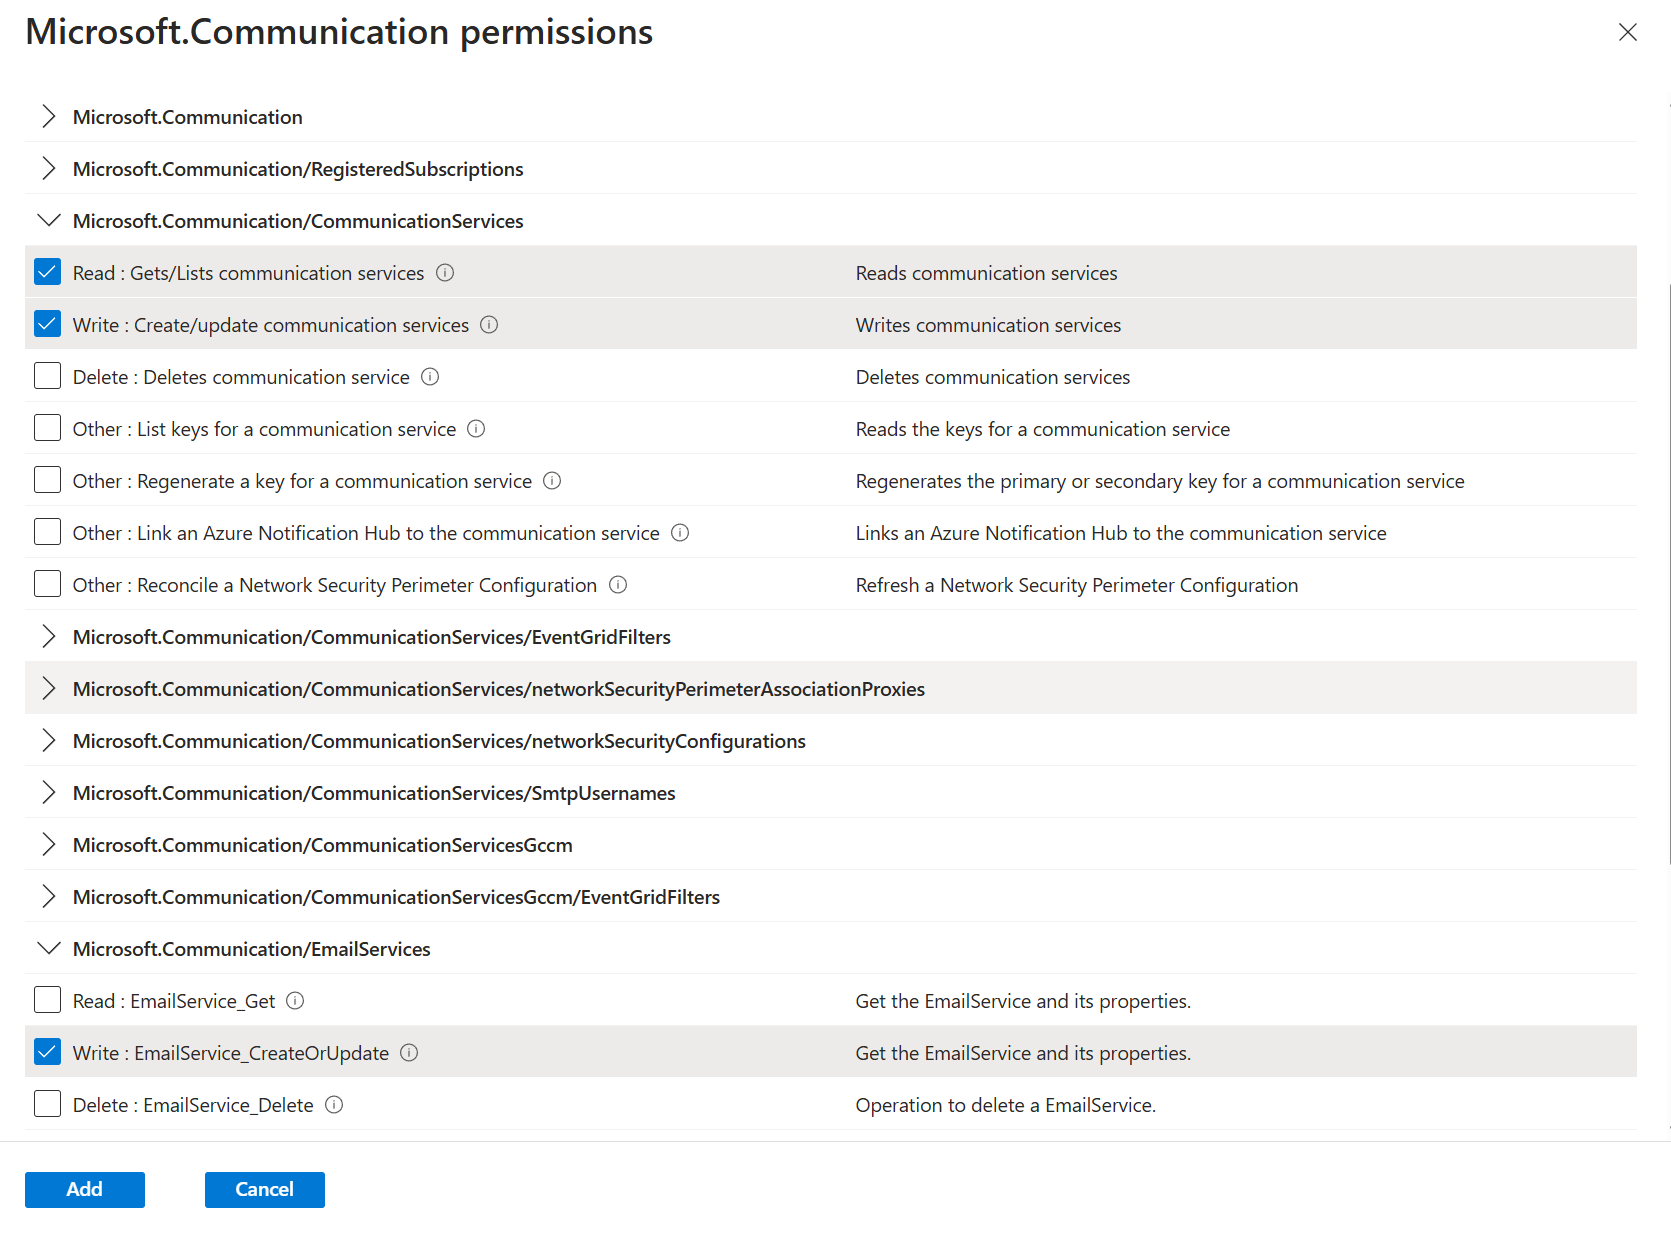
- Click on Add permissions.
- Search for Azure Communication Services.
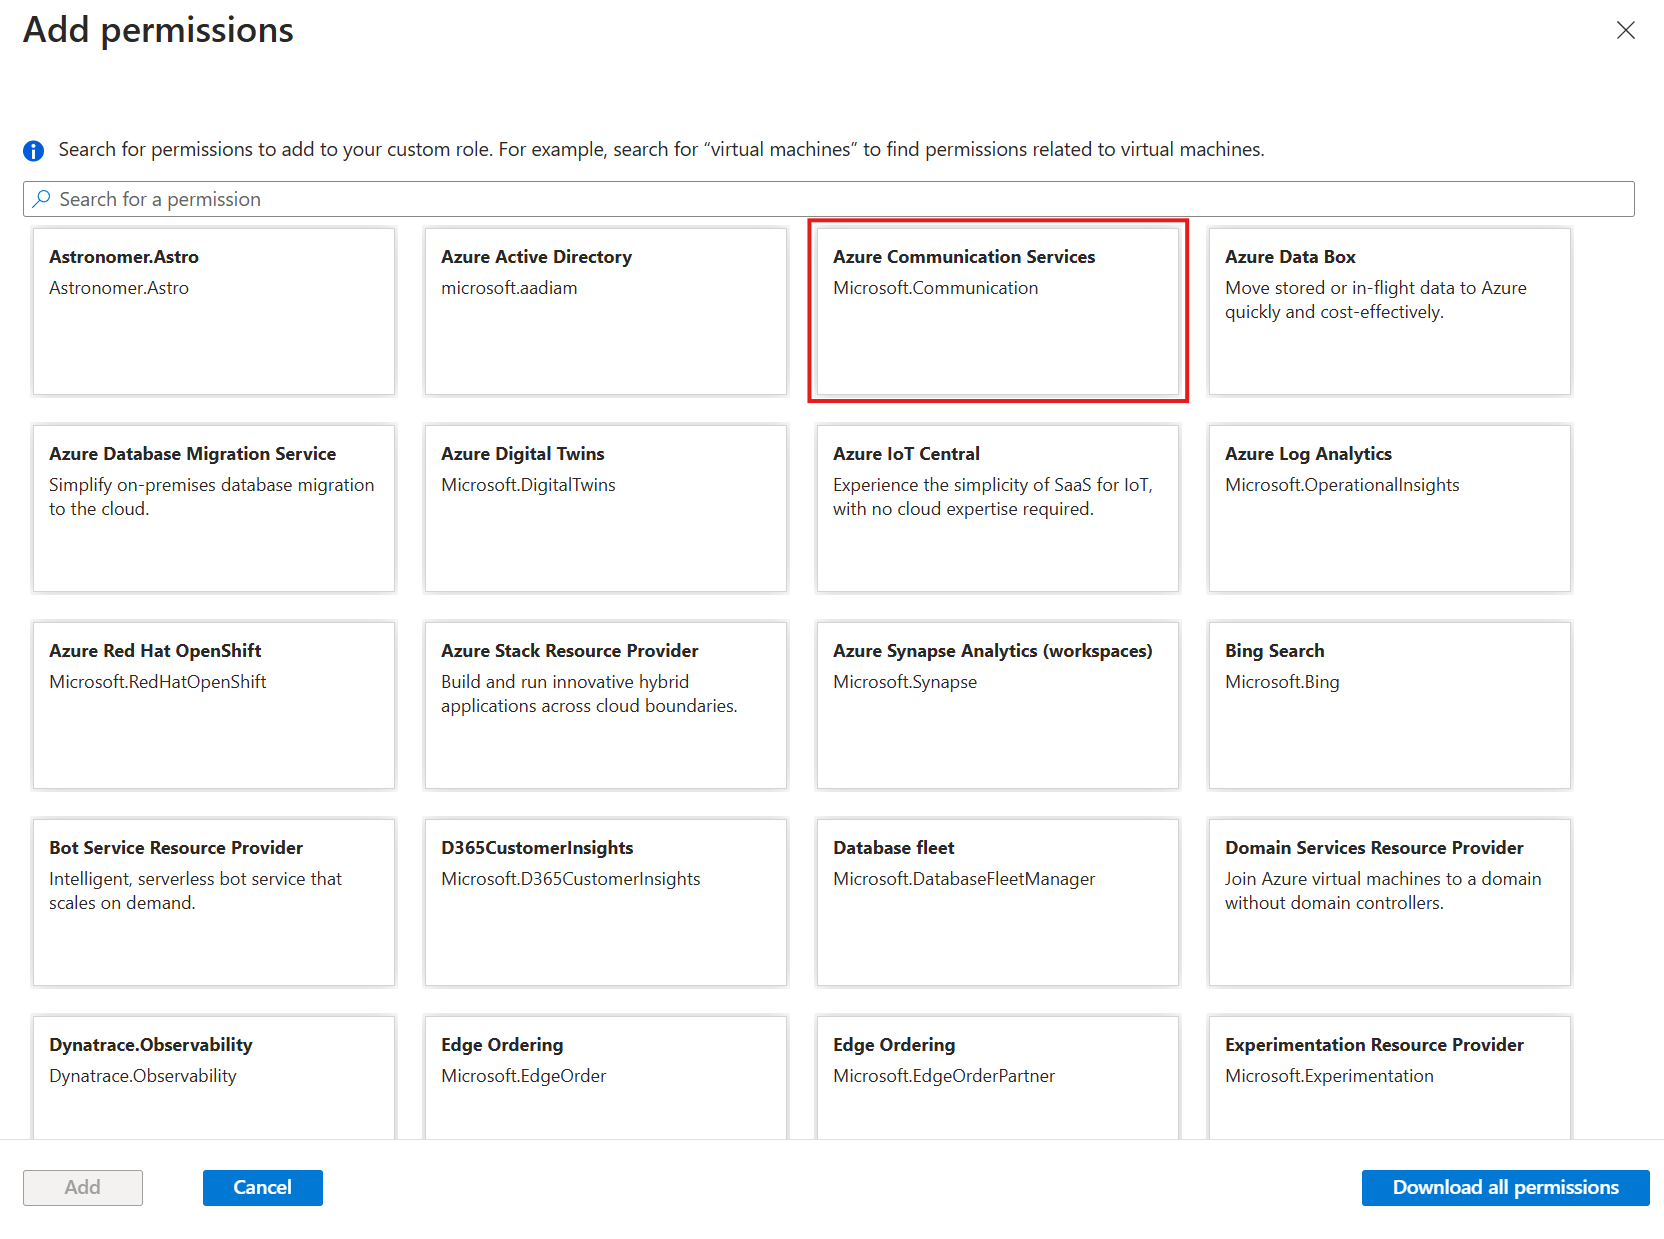
- Select the permissions:
- Microsoft.Communication/CommunicationServices/Read
- Microsoft.Communication/CommunicationServices/Write
- Microsoft.Communication/EmailServices/Write
- Click on Add.
- Remove the read permissions that were cloned from the global read permissions.
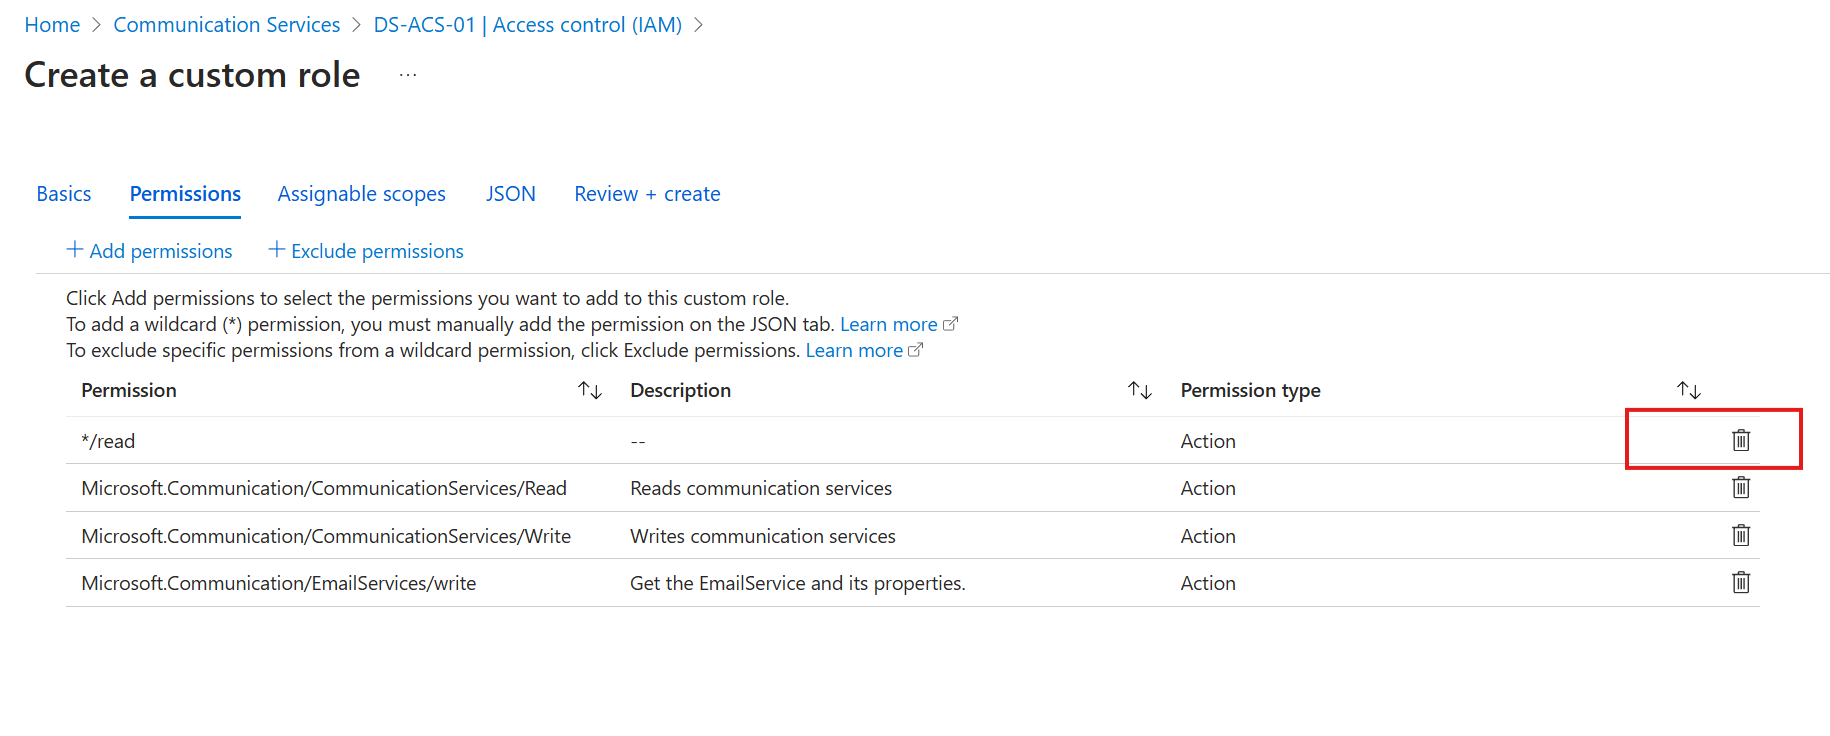
Click on Review + create. Finally, create the role.
Assigning the role to the application
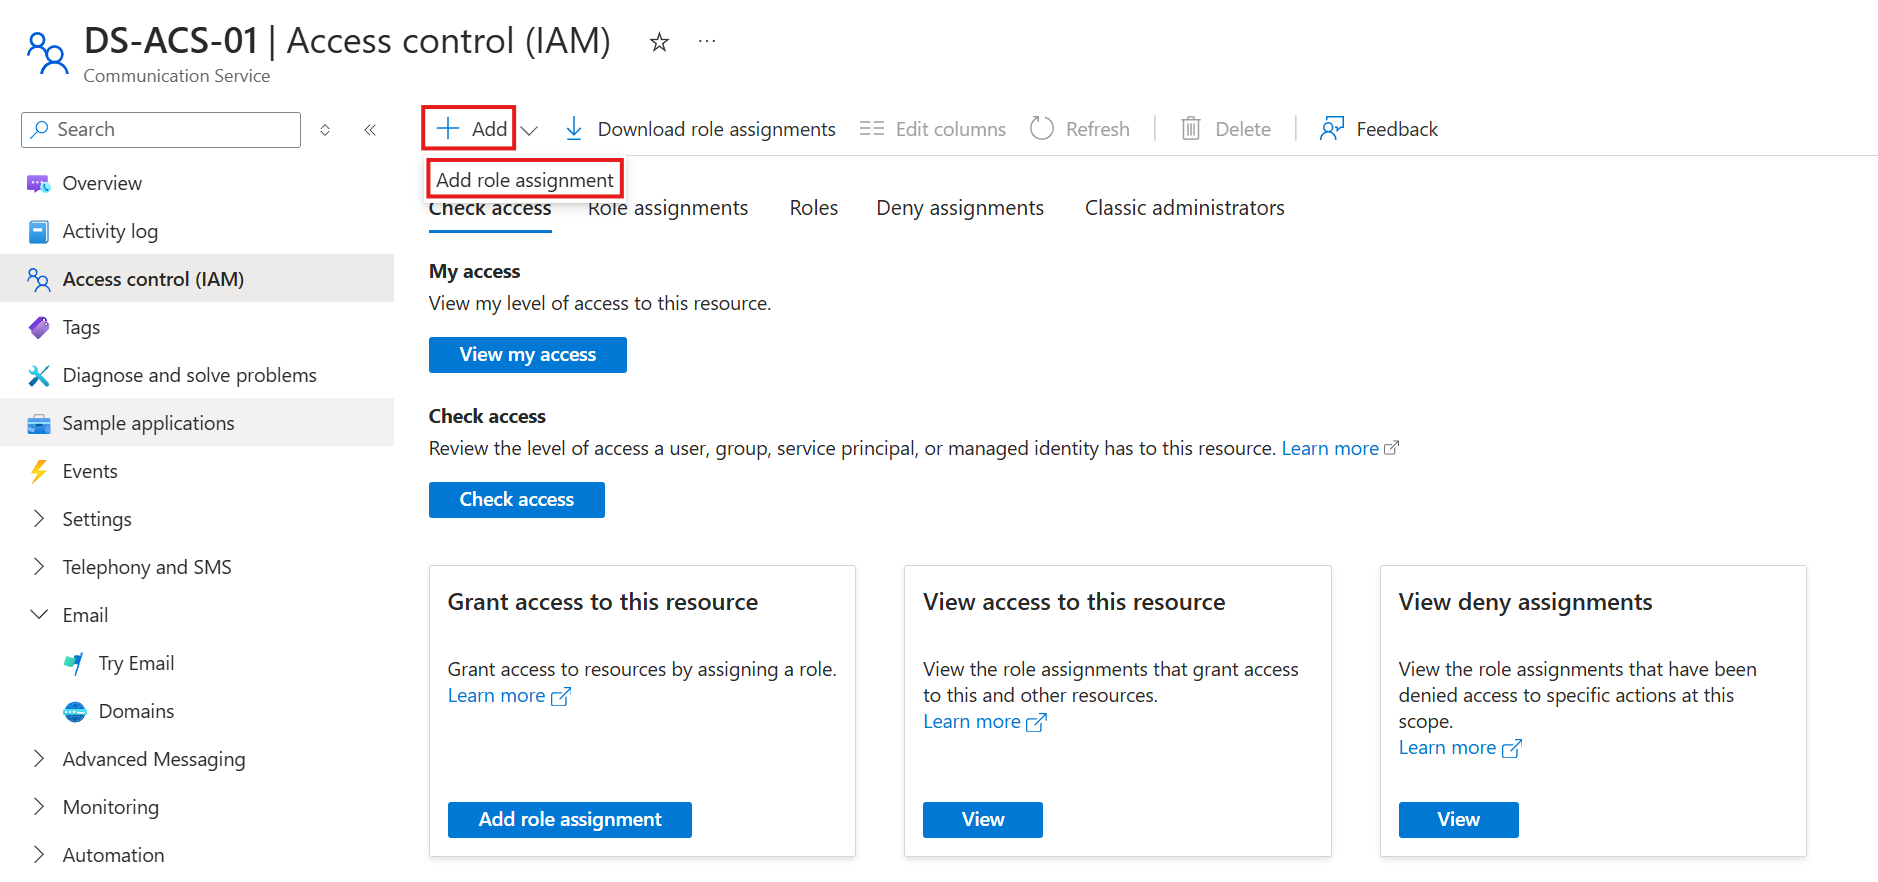
- Navigate to the ACS resource and open the Access control menu.
- Click on Add role assignment.
- Click on the role you wish to assign. In my case, I'm using my custom role ACS SMTP Write. If you did not define your own role, then select the Contributor role.

- Click on the Members tab.
- Add the application by clicking on Select members.
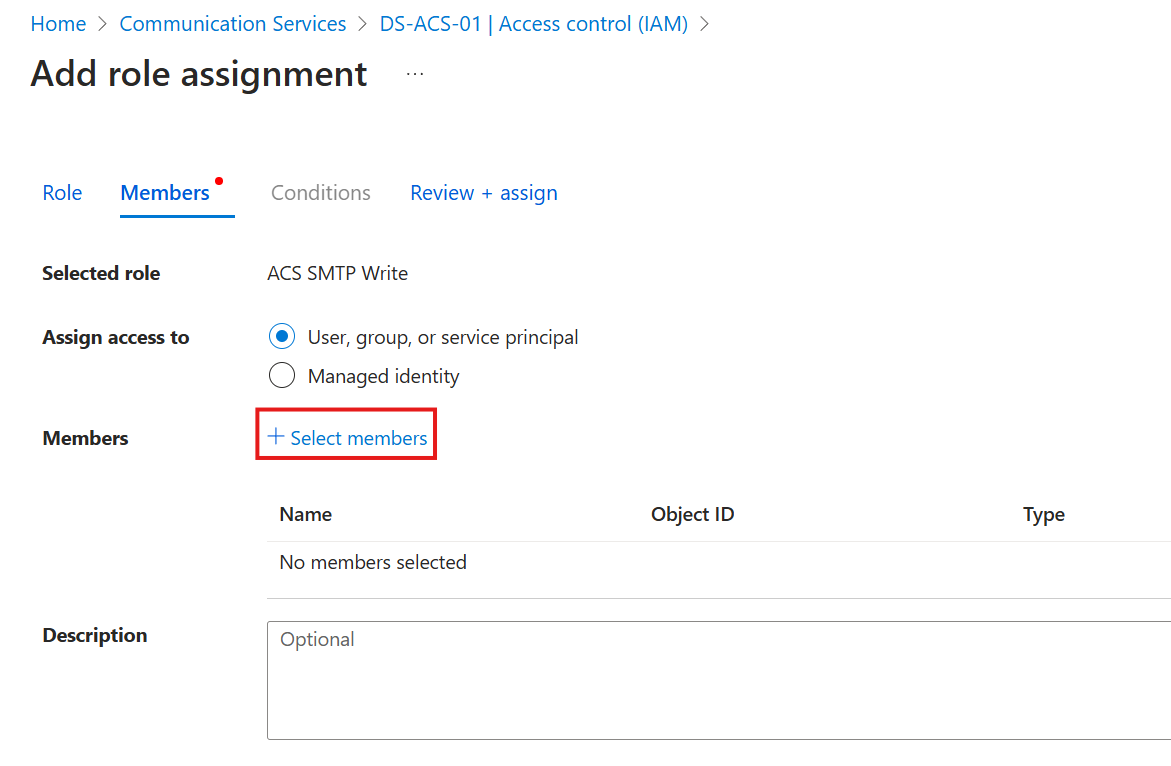
- In the pop-up menu, search for your application and select it by clicking on it. Click on Select. You have to search for your application; by default, you only see users and shared mailboxes.

- Finally, click on Review + assign.
- Verify by going to the Role assignments tab and finding the application with the correct role.
Generate credentials for the SMTP Auth
SMTP username
We have already done everything to get our username to send emails. The username consists of three components:
- The name of the ACS resource (e.g., DS-ACS-01).
- The Application ID.
- The Directory ID.
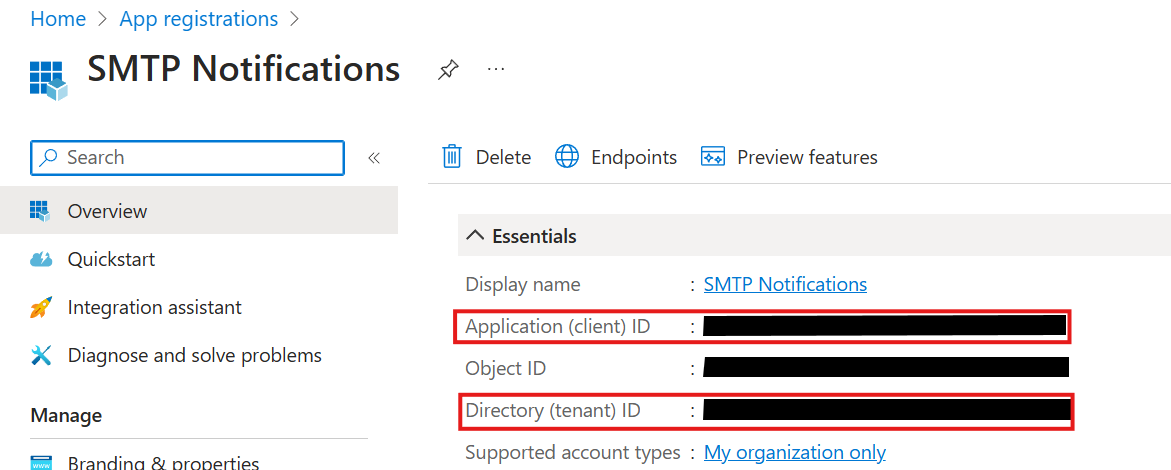
The username is composed of these three pieces of information separated by dots or pipes:
- username:
<Azure Communication Services Resource name>.<Microsoft Entra Application ID>.<Microsoft Entra Tenant ID>
or - username:
<Azure Communication Services Resource name>|<Microsoft Entra Application ID>|<Microsoft Entra Tenant ID>
SMTP password
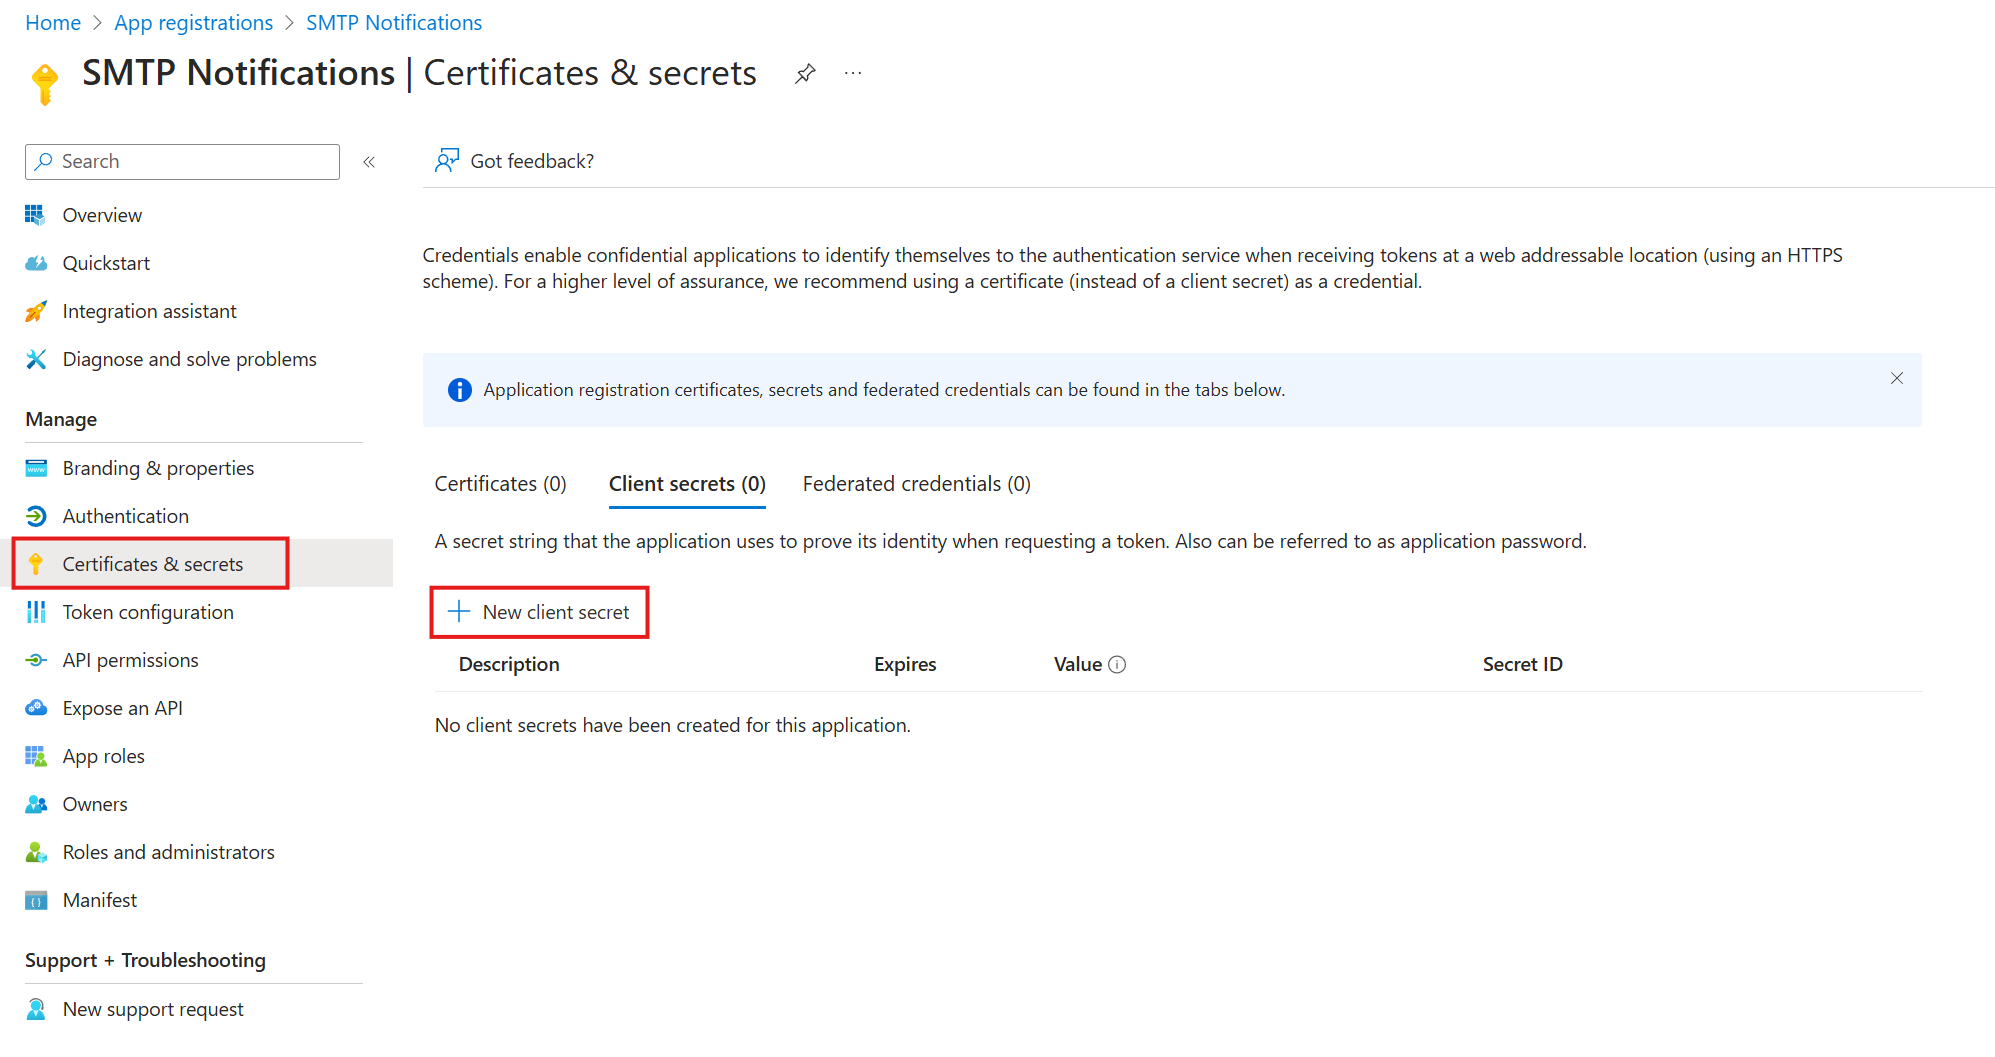
The SMTP password is the value of the application's client secret. If you don't have one yet, generate one like this:
- Inside the application, navigate to Certificates & secrets, click on the Client secrets tab, and then on New client secret.
- Add a description and expiration date.

- Click on Add.
- Copy the value of the secret and keep it safe. It will not be displayed again. If you lose it, you will have to generate a new secret.
Testing
For testing, you need to tell the application what server, what port, and what TLS setting it should use.
| Application setting | Value |
|---|---|
| Server | smtp.azurecomm.net |
| Port | 587 |
| TLS | Enabled |
| Username and password | Use username and password discussed previously |
| SMTP From Address | donotreply@notifications.dirgosalga.com |
There is one last thing you might want to set up. By default, you only get one MailFrom address created (in my case, it was DoNotReply@notifications.dirgosalga.com). You can add more MailFrom addresses in your Email Communication Services resource. This seems to require you to contact support and request that they remove the default limits. I do not need that right now, so I won't do it. But you can read more about it here: https://learn.microsoft.com/en-us/azure/communication-services/quickstarts/email/add-multiple-senders?pivots=platform-azp
For testing SMTP authentication, I asked my coding partner, ChatGPT, to write a PowerShell script. You can use the same code to verify that everything is configured correctly.
$smtpServer = "smtp.azurecomm.net"
$smtpFrom = "donotreply@your.custom.domain"
$smtpTo = "diego@example.com"
$subject = "SMTP Test"
$body = "This is a test email to verify SMTP credentials."
$smtpUsername = # Put your Username here (string).
$smtpPassword = # Put your password here (string).

$message = New-Object system.net.mail.mailmessage
$message.From = $smtpFrom
$message.To.Add($smtpTo)
$message.Subject = $subject
$message.Body = $body

$smtp = New-Object Net.Mail.SmtpClient($smtpServer, 587)
$smtp.EnableSsl = $true
$smtp.Credentials = New-Object System.Net.NetworkCredential($smtpUsername, $smtpPassword)

try {
    $smtp.Send($message)
    Write-Host "Test email sent successfully."
} catch {
    Write-Host "Failed to send test email. Error: $_"
}
If you get an email, you are done!
Next steps
My next step is to identify every application that uses SMTP and replace the old users with this new method. I will eventually need to increase the limits and define more MailFrom addresses. I plan to test this setup for one or two weeks before making the definitive change.
Conclusion
This process was more complicated than I initially anticipated. It involves several new components, which can be challenging if you are unfamiliar with these services. So, what is the advantage of implementing it this way? Primarily, this is what Microsoft recommends, and we will all need to adopt it eventually if they proceed with removing their SMTP endpoints for Office 365. Regarding security, this approach is indeed an improvement. There is no longer a traditional user that can be compromised to pivot around my environment. However, applications are still authenticating using basic authentication, so at the very least, someone could send emails as that application. Nonetheless, there is certainly much more flexibility in how you handle the credentials of such an application and ways to automate secret rotation using Azure Key Vault, for example.
What about costs? I will be replacing an account that I currently license with an Exchange Online Kiosk license, which costs me €1.87 per month. This provided me with only 2 GB of mailbox storage but was more than enough for my use case. An enterprise is more likely to need Exchange Online Plan 1 or 2 for €3.70 and €7.50 per month, respectively. You would need to be sending more than 13,300 emails at 0.5 MB each to justify the price of those licenses. So if your applications produce fewer emails than that, you should also see a decrease in costs.
Sources
- https://techcommunity.microsoft.com/t5/exchange-team-blog/exchange-online-to-retire-basic-auth-for-client-submission-smtp/ba-p/4114750
- https://learn.microsoft.com/en-gb/azure/communication-services/quickstarts/email/send-email-smtp/smtp-authentication
- https://learn.microsoft.com/en-us/exchange/client-developer/legacy-protocols/how-to-authenticate-an-imap-pop-smtp-application-by-using-oauth