Getting started with Bicep
In my latest post, I introduce how to get started with Bicep for Infrastructure as Code (IaC) in Azure. Learn how to install tools, set up your environment, and deploy resources with a simple Bicep template.
One of the greatest advantages of hosting your services in the cloud is the flexibility you gain and how it can accommodate your needs as your business grows. The most effective way to manage your cloud resources is through Infrastructure as Code (IaC).
In this blog post, we will explore Bicep, a domain-specific language (DSL) that simplifies the process of deploying Azure resources using IaC. We will dive into some fundamentals, set up a Bicep environment, and deploy your first template.
What is Infrastructure as Code?
Infrastructure as Code (IaC) is a modern approach to managing IT infrastructure through code rather than manual processes. It enables IT teams to write scripts that can automate the provisioning, configuration, and management of resources. With IaC, infrastructure can be versioned, tested, and deployed just like application code, resulting in increased efficiency, reduced errors, and improved collaboration among teams.
The benefits of IaC include:
- Speed: Automates the deployment process, allowing teams to provision resources quickly.
- Scalability: Makes it easier to scale applications by allowing teams to manage large infrastructures with minimal effort.
- Consistency: Ensures that environments are set up in a uniform manner, minimizing discrepancies between development, testing, and production.
- Documentation: Code serves as a form of documentation, providing clarity on how the infrastructure is configured.
What is Azure Resource Manager?
Azure Resource Manager is the deployment and management service for Azure. It provides a management layer that enables you to create, update, and delete resources in your Azure account. You use management features, like access control, locks, and tags, to secure and organize your resources after deployment.
https://learn.microsoft.com/en-us/azure/azure-resource-manager/management/overview
Azure allows you to interface with resources through several channels, such as the Azure Portal, the Azure CLI, and REST clients. Azure Resource Manager (ARM) is the API layer that handles all those requests, ensuring consistent results across all methods. It also manages authentication and authorization.
ARM enables the use of declarative templates to manage infrastructure. This means you don't instruct the resource manager with a sequence of commands, as you would normally do in a script; instead, you specify the desired state you wish to achieve. With an ARM template, you define in a JSON file what resources you wish to deploy. At this point, I encourage you to look at an ARM template to understand the motivation for using Bicep. For example, compare an ARM template to its Bicep counterpart using the following link:
ARM Template to Bicep Comparison
What is Bicep?
Bicep is a domain-specific language (DSL) that simplifies the process of writing ARM templates. It eliminates the need for complex JSON syntax while maintaining the same capabilities as ARM templates. It also comes with advantages like type safety, improving the IaC experience for your Azure environment.
Setting up your Bicep environment
Before you can start deploying resources with Bicep, you need to set up your environment. This involves installing a few tools that will facilitate the creation and deployment of Bicep files.
(Optional) Install PowerShell 7
While not strictly necessary, installing PowerShell 7 can enhance your scripting experience. PowerShell 7 offers improved performance and new features compared to earlier versions. You can download it from the official PowerShell GitHub repository. Alternatively, you can install it on Windows using the winget command.
winget install Microsoft.PowershellInstall Azure PowerShell
Azure PowerShell is a set of modules that allow you to manage Azure resources directly from PowerShell.
Open PowerShell as an administrator. Run the command:
Install-Module -Name Az -Repository PSGallery -ForceInstall Azure CLI
Alternatively, you can install the Azure Command-Line Interface (CLI). The Azure CLI is a cross-platform command-line tool for managing Azure resources. You can install it using the following commands:
Windows: Install using the following command:
$ProgressPreference = 'SilentlyContinue'; Invoke-WebRequest -Uri https://aka.ms/installazurecliwindowsx64 -OutFile .\AzureCLI.msi; Start-Process msiexec.exe -Wait -ArgumentList '/I AzureCLI.msi /quiet'; Remove-Item .\AzureCLI.msiLinux: Use the following command on Debian-based distros:
curl -sL https://aka.ms/InstallAzureCLIDeb | sudo bash
Go to Learn pages to find more installation instructions, including installation steps for other package managers.
Mac: Use Homebrew:
brew update && brew install azure-cli
Install Bicep
Bicep tools are typically automatically installed when using the Azure CLI. you can check if the Bicep CLI is installed by typing this command:
az bicep versionThis command will also prompt you to install, if the Bicep tools are missing.
If you are instead using the Azure PowerShell, then run the following command:
winget install -e --id Microsoft.BicepInstalling VS Code Extensions
I recommend using the popular IDE Visual Studio (VS) Code. There are extensions available for VS Code that will greatly assist you when you start working on your own templates.
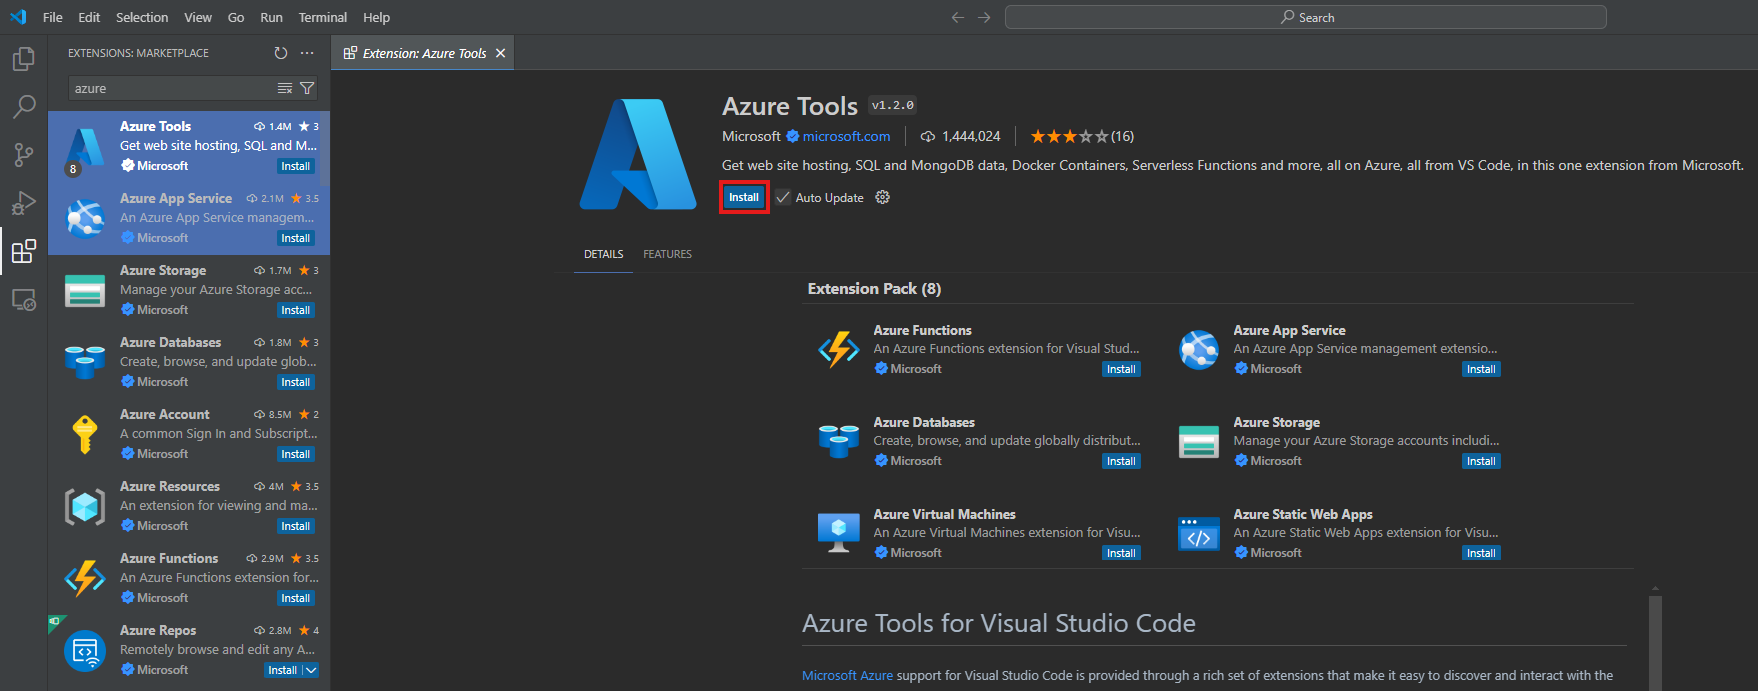
Azure extension
The Azure extension for VS Code provides tools to manage Azure resources directly from the editor. You can install it from the VS Code marketplace. Simply search for Azure and select the top result (Azure Tools). Finally, click on the install button.
Bicep extension
The Bicep extension offers syntax highlighting, IntelliSense, and validation for Bicep files, making it easier to write and manage your templates. Install it from the VS Code marketplace as well.
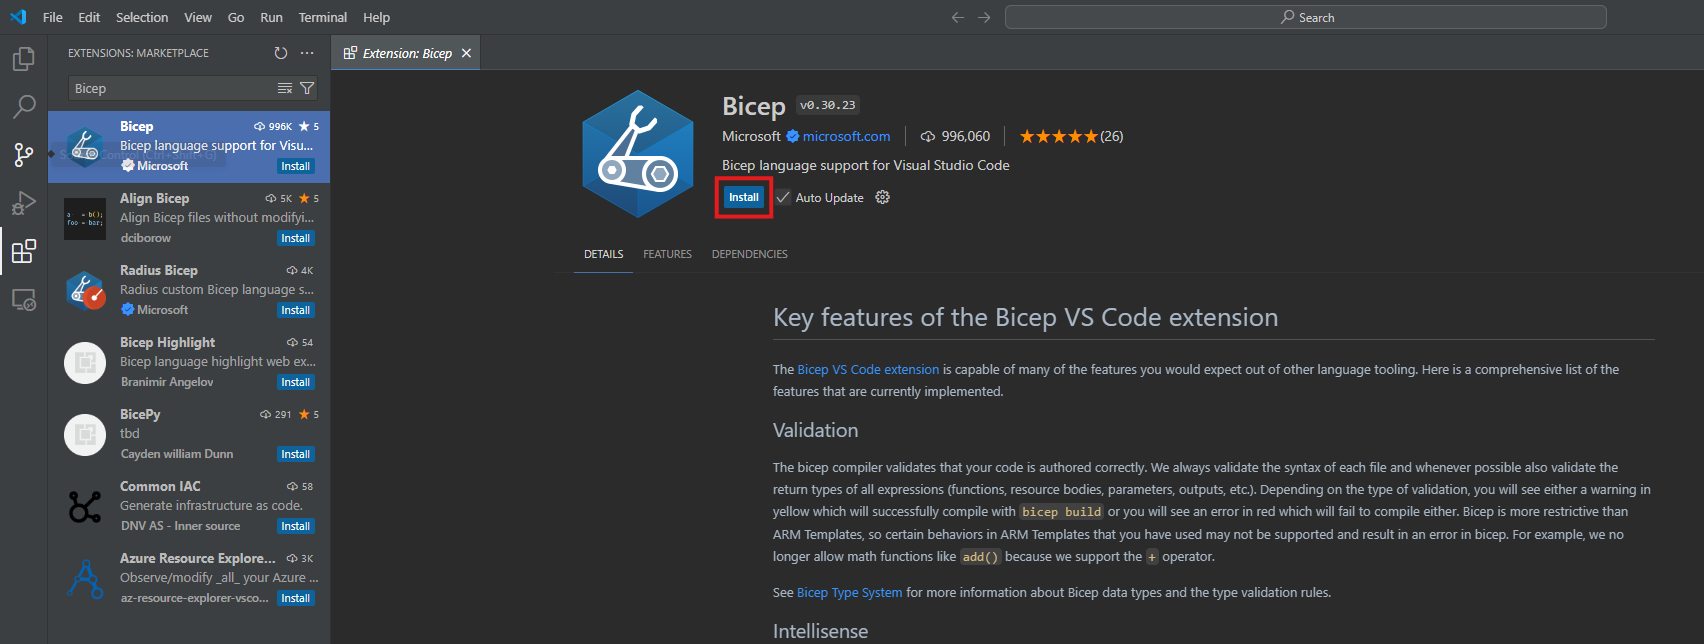
The combination of these extensions significantly improves the management of resources through Bicep.
Deploying your first Bicep template
Now that your environment is set up, it’s time to deploy your first Bicep template. For this example, we’ll create a simple virtual network (vnet) and a network security group (NSG).
Creating a template
Create a new file called main.bicep and start adding some code. The first thing you should do is define a resource you wish to deploy. Let's say I want to define the resource myvnet.
As I start typing, the extension automatically provides suggestions for the correct naming schemes.
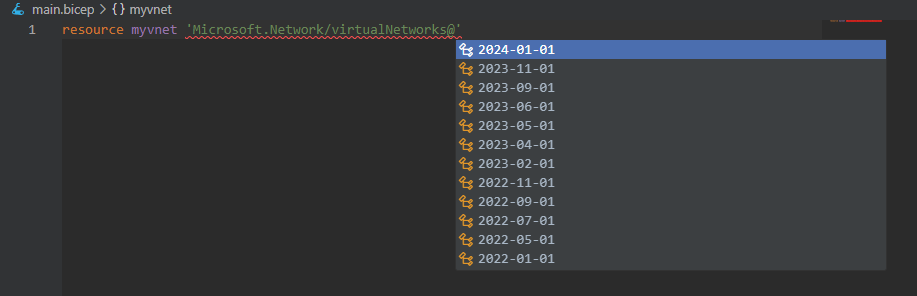
In this case, I wrote the name of the variable and began typing virtual networks, receiving the suggestion Microsoft.Network/virtualNetworks@. The next step is to choose the version of the API I want to use to manage this resource. I will select the most recent one. If you simply type the = sign to assign values to that variable, VS Code will generate the required structure with all necessary properties.
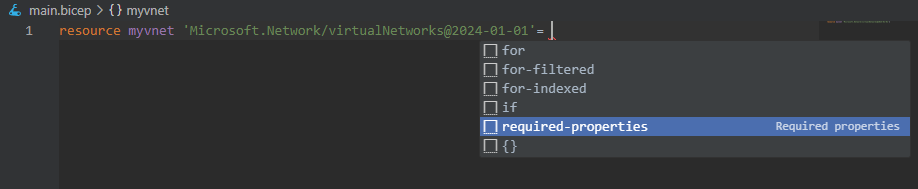
In this case, only the name is technically required. However, you will want to define additional properties as well. Have a look at my example below.
resource myvnet 'Microsoft.Network/virtualNetworks@2024-01-01' = {
  name: 'ds-bicep-vnet-01'
  location: resourceGroup().location
  properties: {
    addressSpace: { addressPrefixes: ['10.0.0.0/16'] }
    subnets: [
      { name: 'subnet-00', properties: { addressPrefix: '10.0.0.0/24' } }
      { name: 'subnet-01', properties: { addressPrefix: '10.0.1.0/24' } }
      { name: 'subnet-02', properties: { addressPrefix: '10.0.2.0/24' } }
    ]
  }
}
I have given my virtual network a name. I have not hardcoded the location (which is not recommended anyway), but I am relying on the location attribute of the resource group to which I wish to deploy this vnet later. Additionally, I have defined the address space of my vnet, as well as three subnets within that space.
Now let's do the same for the NSG. If you wish to follow along, simply append the code below to your main.bicep file.
resource mynsg 'Microsoft.Network/networkSecurityGroups@2024-01-01' = {
  name: 'ds-bicep-nsg-01'
  location: resourceGroup().location
  properties: {
    securityRules: [
      {
        name: 'allow-ssh'
        properties: {
          priority: 1000
          protocol: 'Tcp'
          sourcePortRange: '*'
          sourceAddressPrefix: 'VirtualNetwork'
          destinationPortRange: '22'
          destinationAddressPrefix: 'VirtualNetwork'
          access: 'Allow'
          direction: 'Inbound'
          description: 'Allows SSH inbound.'
        }
      }
      {
        name: 'allow-ping'
        properties: {
          priority: 1100
          protocol: 'Icmp'
          sourcePortRange: '*'
          sourceAddressPrefix: 'VirtualNetwork'
          destinationPortRange: '*'
          destinationAddressPrefix: 'VirtualNetwork'
          access: 'Allow'
          direction: 'Inbound'
          description: 'Allows ping inbound.'
        }
      }
    ]
  }
}
If you are wondering how I knew what parameters and properties to use for the NSG security rules, you can check here: Azure Network Security Groups
Creating a resource group
Before deploying your template, you need to create a resource group in Azure. You can use the Azure Portal, but we should practice using PowerShell, so let's start by connecting to our tenant from the terminal.
Connect-AzAccountYou should see a browser window prompting you to authenticate to Azure. Log in using an account that has write permissions on your subscription. Next, let's create the resource group we want to deploy to. I will call mine RG-Bicep and choose the location Germany West Central.
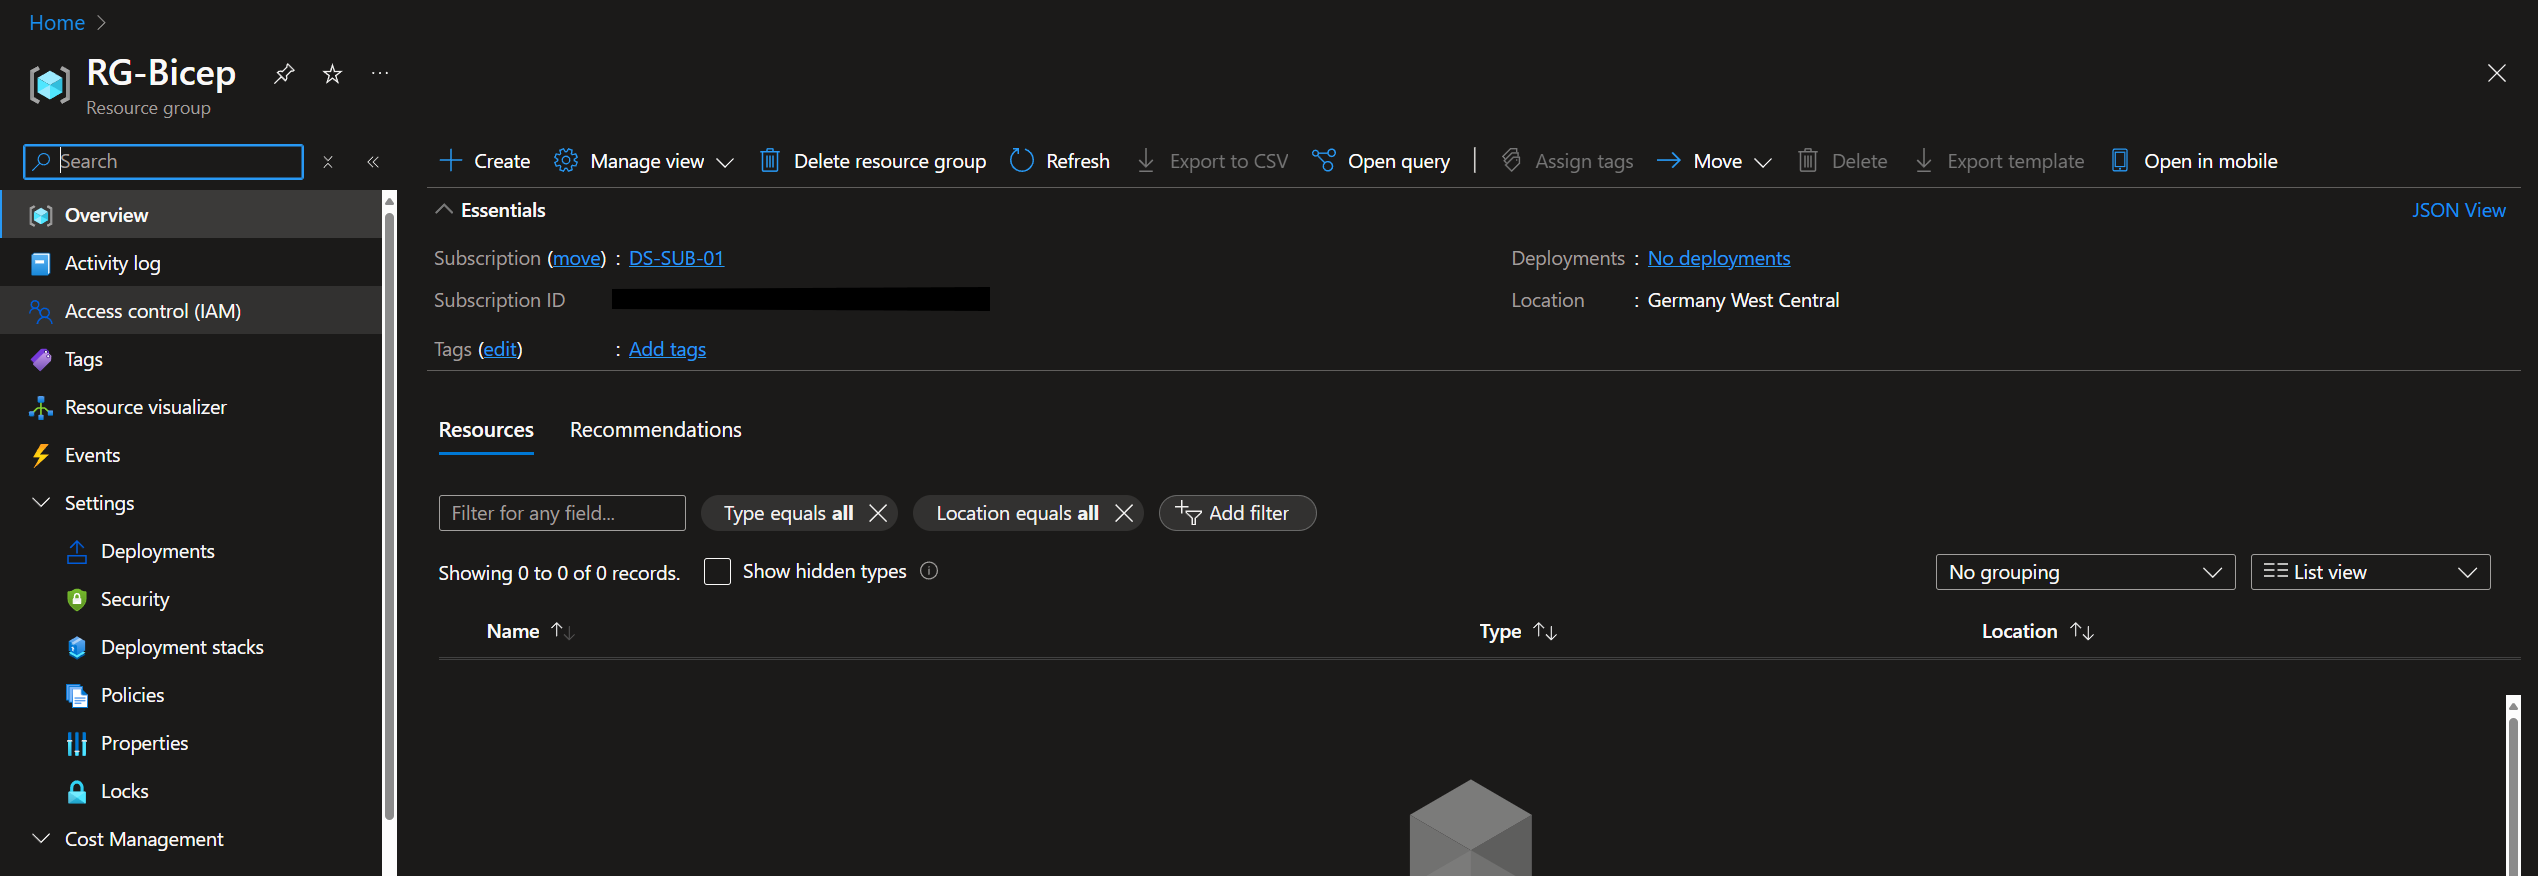
New-AzResourceGroup -Name RG-Bicep -Location 'Germany West Central'If I now navigate to the Azure Portal, I can find my new resource group.
Deploying template
To deploy your Bicep template, use the following command:
New-AzResourceGroupDeployment -ResourceGroupName 'RG-Bicep' -TemplateFile '.\Getting started with Bicep\main.bicep' -Name 'PowerShell-Vnet-NSG-Deployment'
This command deploys the resources defined in your main.bicep file to the specified resource group. Let's check the portal to see what happened exactly.
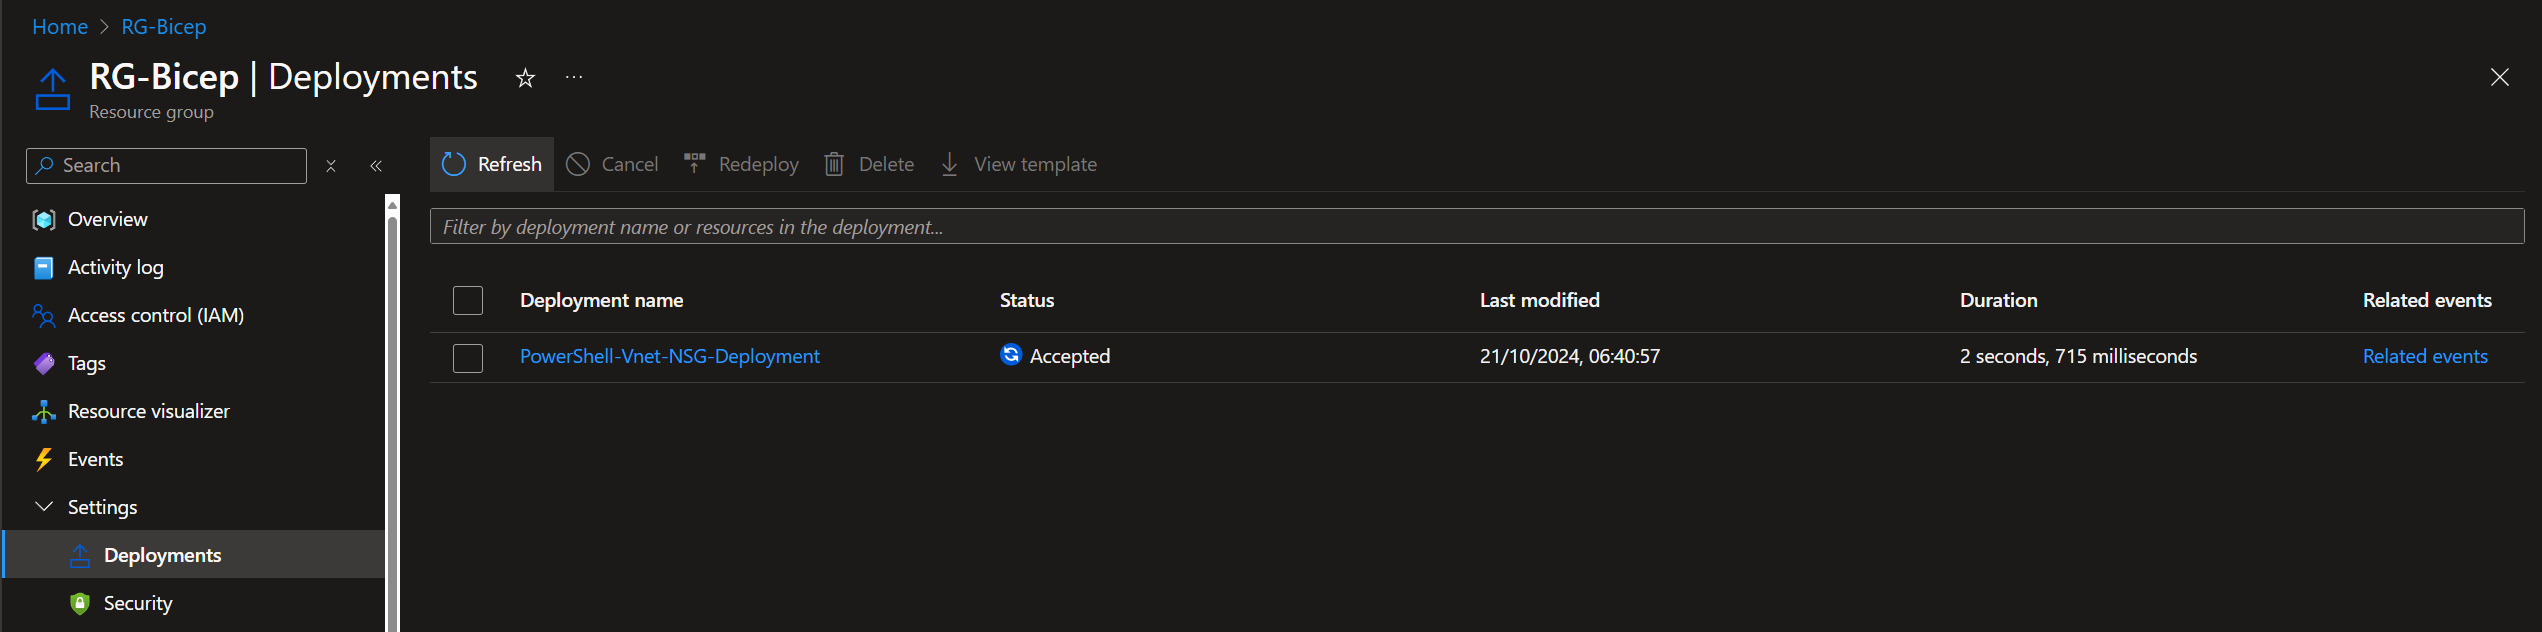
We see the deployment appear in the Deployments menu of our resource group. From here, we can further investigate the state of our deployment. Since we only deployed two simple resources, the deployment completes quickly.
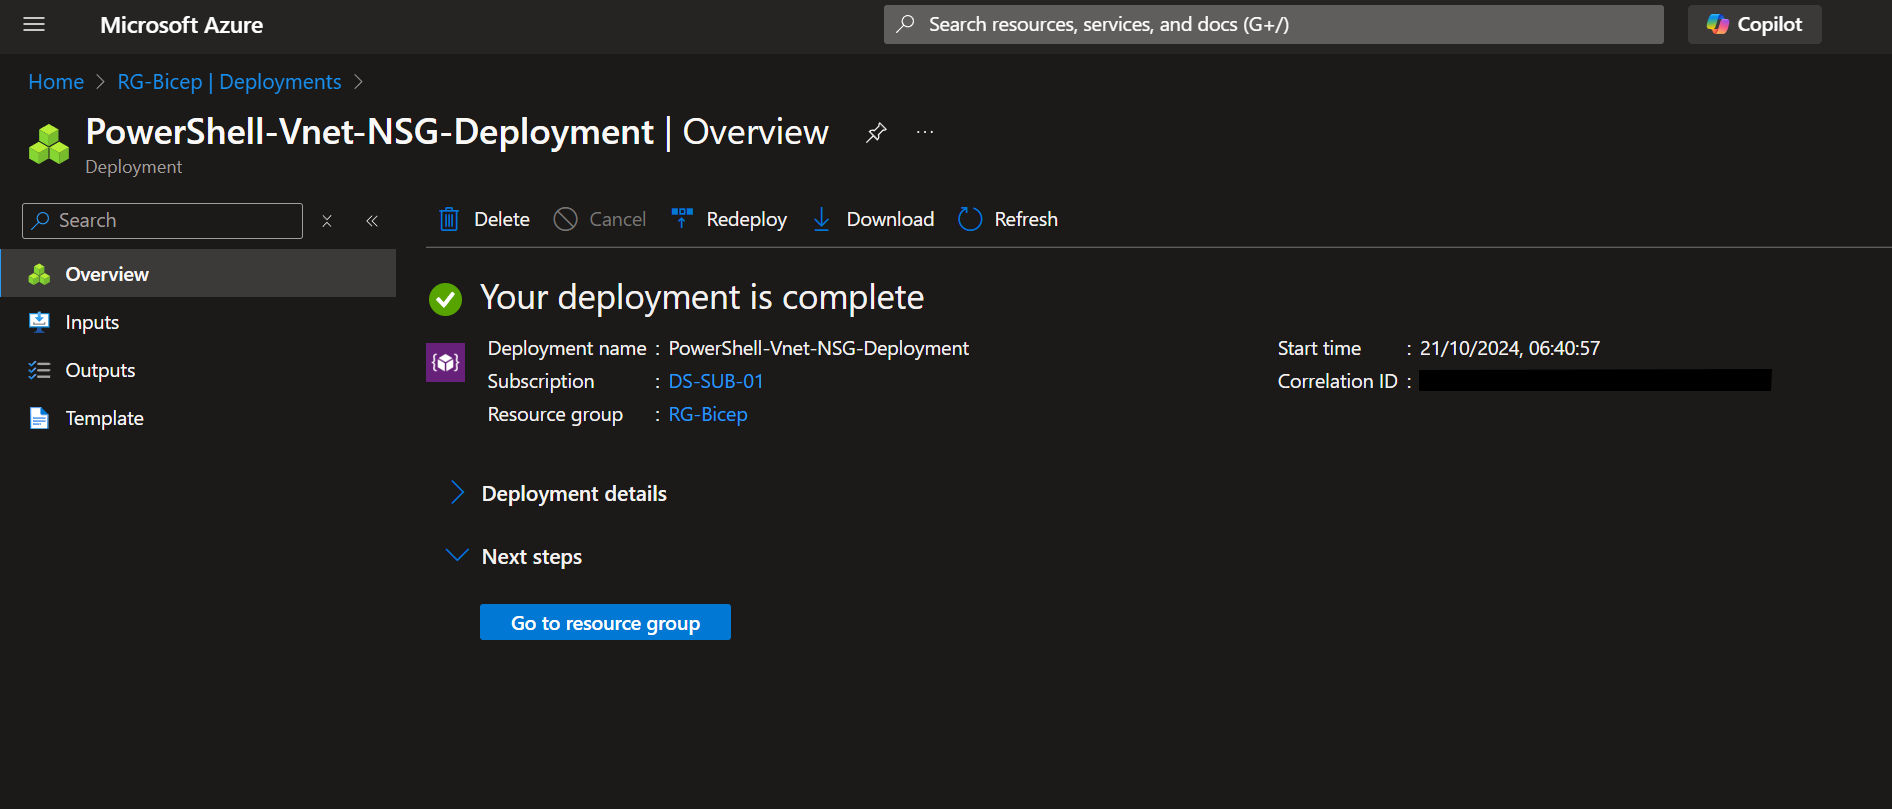
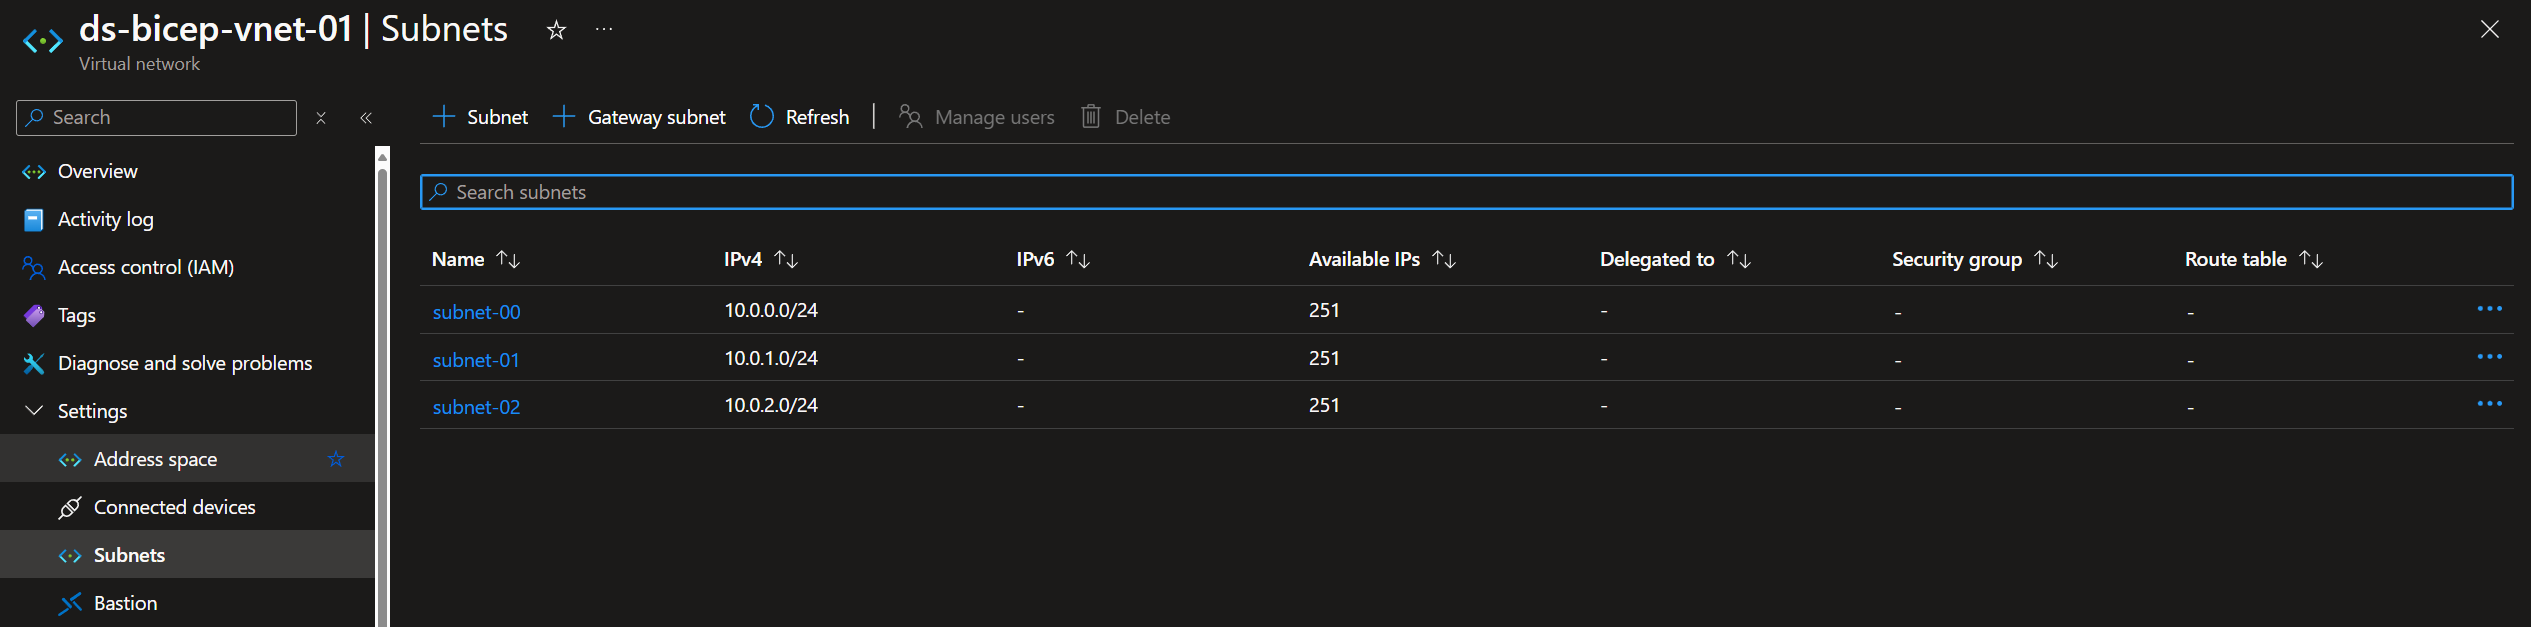
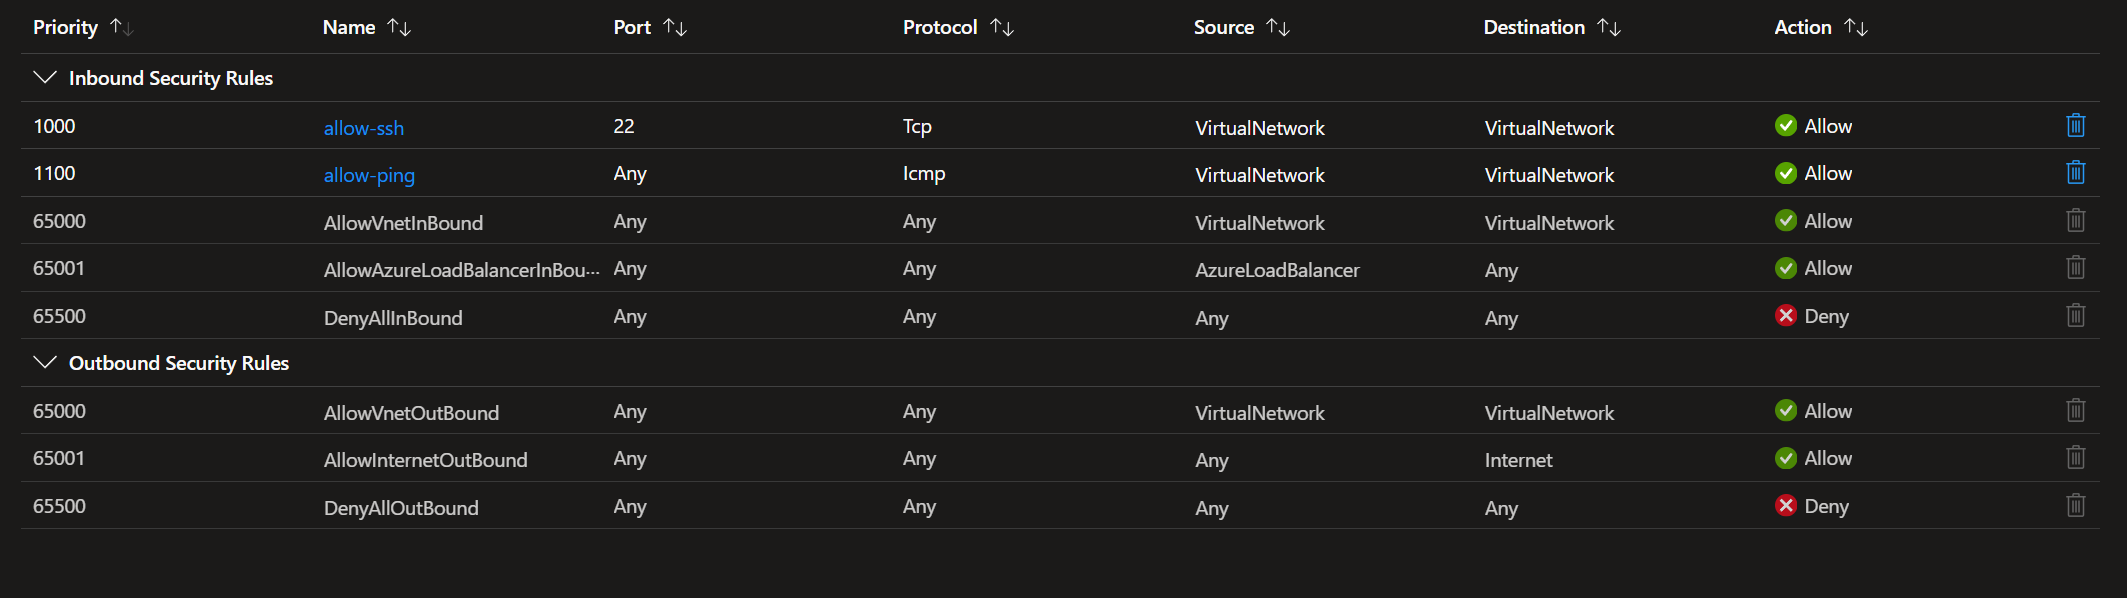
Returning to the overview of our resource group, we see that we now indeed have a virtual network and an NSG, with the properties we defined configured for us. So we get our subnets and our security rules.
Congratulations! You’ve successfully set up your Bicep environment and deployed your first Bicep template. Stay tuned for upcoming posts, where we will dive deeper into Bicep and IaC in Azure.